Modding Your PC for Better Airflow
Hey everyone, we’re back again! This time we’ll be going a bit more into detail about one of the biggest necessities when it comes to modding your PC case- to attain more airflow.
Nowadays, companies around the world who have tried their hand at creating a PC case are moving toward the direction that modders have gone when it comes to the overall layout, as well as certain aspects modders themselves have created for their own builds.
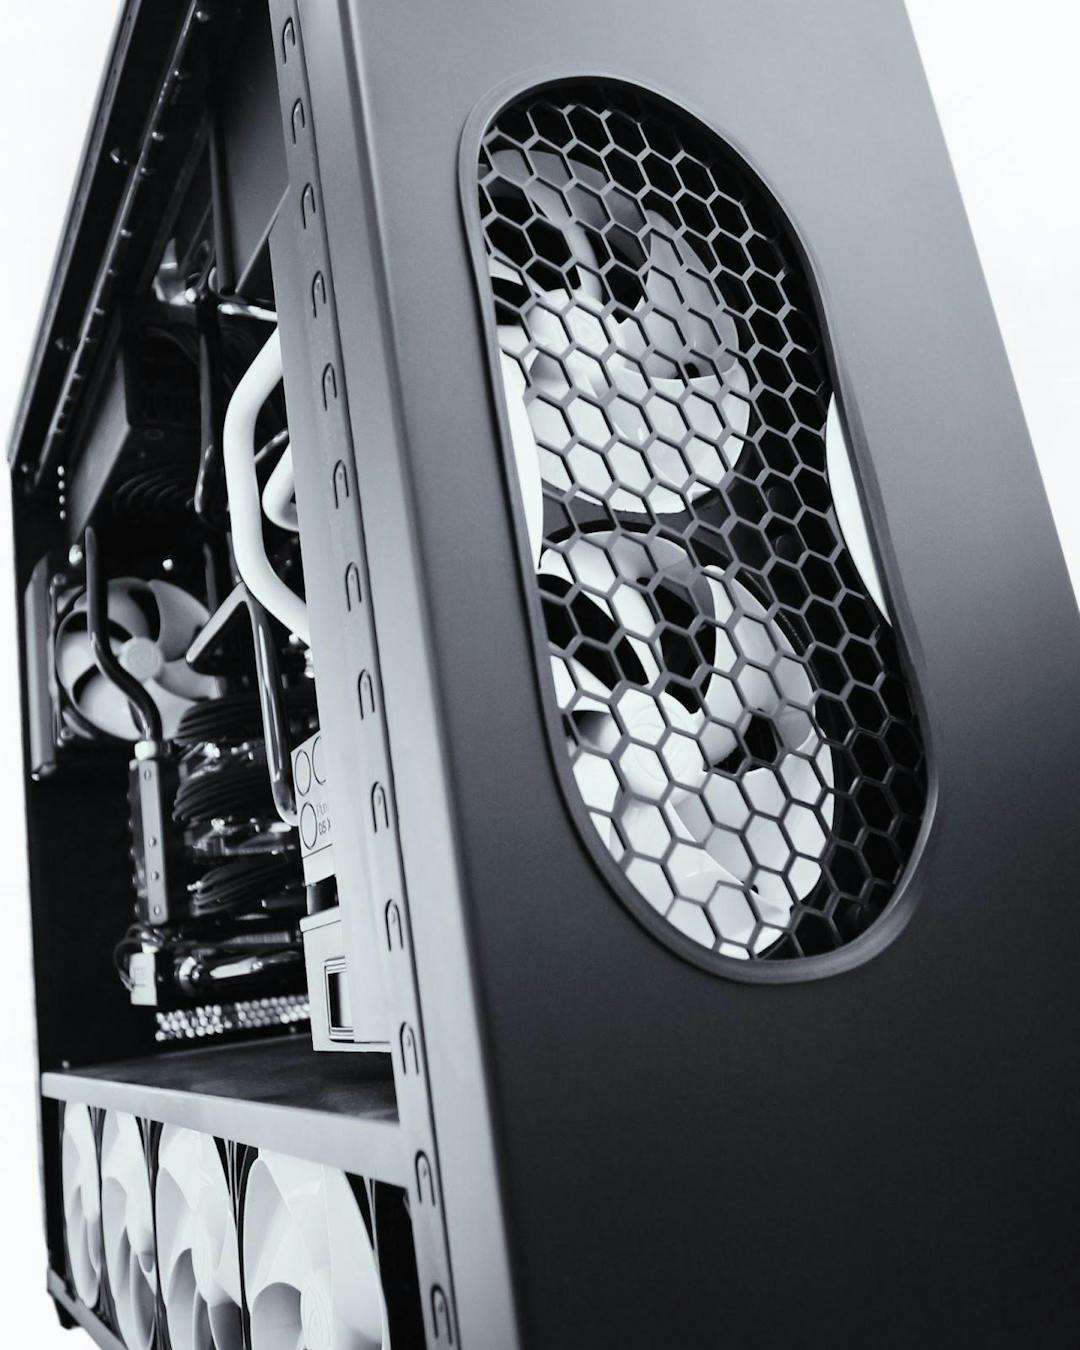
Airflow is one of the biggest changes that a modder can do to their build, and in our opinion, is the most important. If your PC build can’t exchange fresh air with heat-soaked air correctly, then it’ll have a really hard time maintaining temperatures, and you could potentially lose out on performance. It’s one of the main reasons why Hyte’s Revolt 3 ITX case has fully ventilated panels on every side, instead of tempered glass.
After getting acquainted with the basics on modding, it’s easy to assume you’ll be excited to get started at modding your upcoming or current PC build. But the question is where to begin?
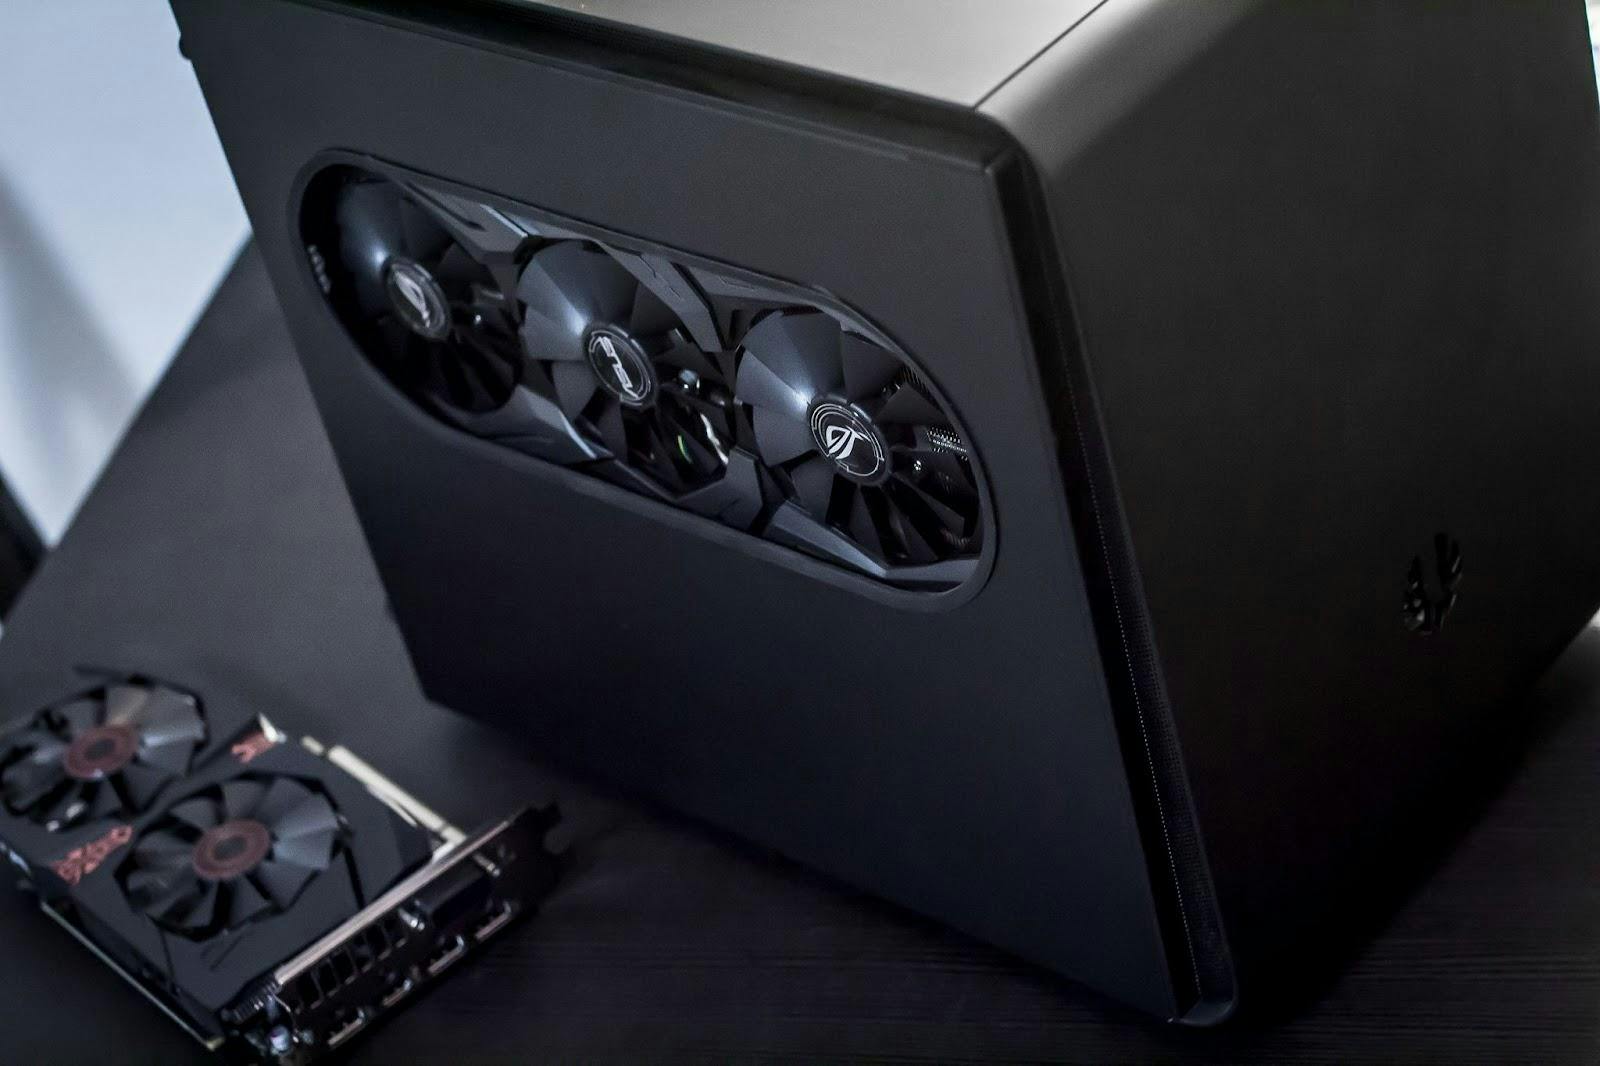
We highly suggest starting with finding the exact locations of any sort of airflow issues you may be having. It’s not too tricky to find out where you will want this increased airflow, and all it really takes is either relocating fans and/or radiator or just cutting away at a case panel if you can’t relocate your fans and/or radiator. We’ve done quite a few case panel cutouts for GPUs since it’s a little harder to relocate a GPU.

However, there is a slight trick to cutting your case panels and making sure that you’re cutting in the right place. Obviously you want your PC to look as good as possible, it’s your pride and joy! Even utilizing some tips and tricks from our previous blog where we discuss modding basics, it can still be a little challenging to lock down exactly where you need to make changes.
For this situation, let’s pretend you want to cut out a section of your PC case panel for your GPU, just like the photo above. We recommend buying a clear acrylic sheet that is bigger than your case panels are. This acrylic panel will help you see your components as if your original PC case panel was transparent! Simply remove the case panel that you plan to modify and lay your PC on its side. You’ll then place the clear acrylic panel on the PC, so that you can see your PC through the panel. Using a wet erase marker, simply trace out how big your original PC case panel is along the edges of the case, then trace out the cutout that you want for your GPU based on its exact location. This then becomes your template for the actual case panel. You’ll then measure where the future cutout will be in reference to the edges of the panel that you traced prior. Transfer these measurements over to your PC case panel, apply some blue painters tape, mark on the tape where you want to cut, and then dremel away!
The clear acrylic panel trick is a tried and true method that’s been around for sometime, but it’s a very cost effective and reliable method that I have personally used many times in the past, for GPU cutouts, as well as radiator fan cutouts.

Another thing that I’m sure has crossed your mind is the fact that if you’re going to cut your case panel, you want the cuts to be straight and you may be nervous of making a mistake. Other than going out and finding an industrial laser or waterjet to do the cutting, your best bet is with a dremel. But it’s okay if your cut isn’t perfect if you’re doing it by hand, as there’s a neat little trick with fixing its appearance, while at the same time creating a much cleaner look to a cut panel.
Rubber edge trim is applied simply by pushing the trim onto the cut panel edge, and it grips all three sides for a tight hold. It can also do a nice job at “straightening” slightly crooked panel cuts! I get my trim from McMaster-Carr.
Okay, so modifying exterior panels is one thing. What about internal panels? How do you measure where to cut? It’s not like you can get that clear acrylic sheet in there for tracing anything useful. Luckily I’ve got another trick that doesn’t break the bank!
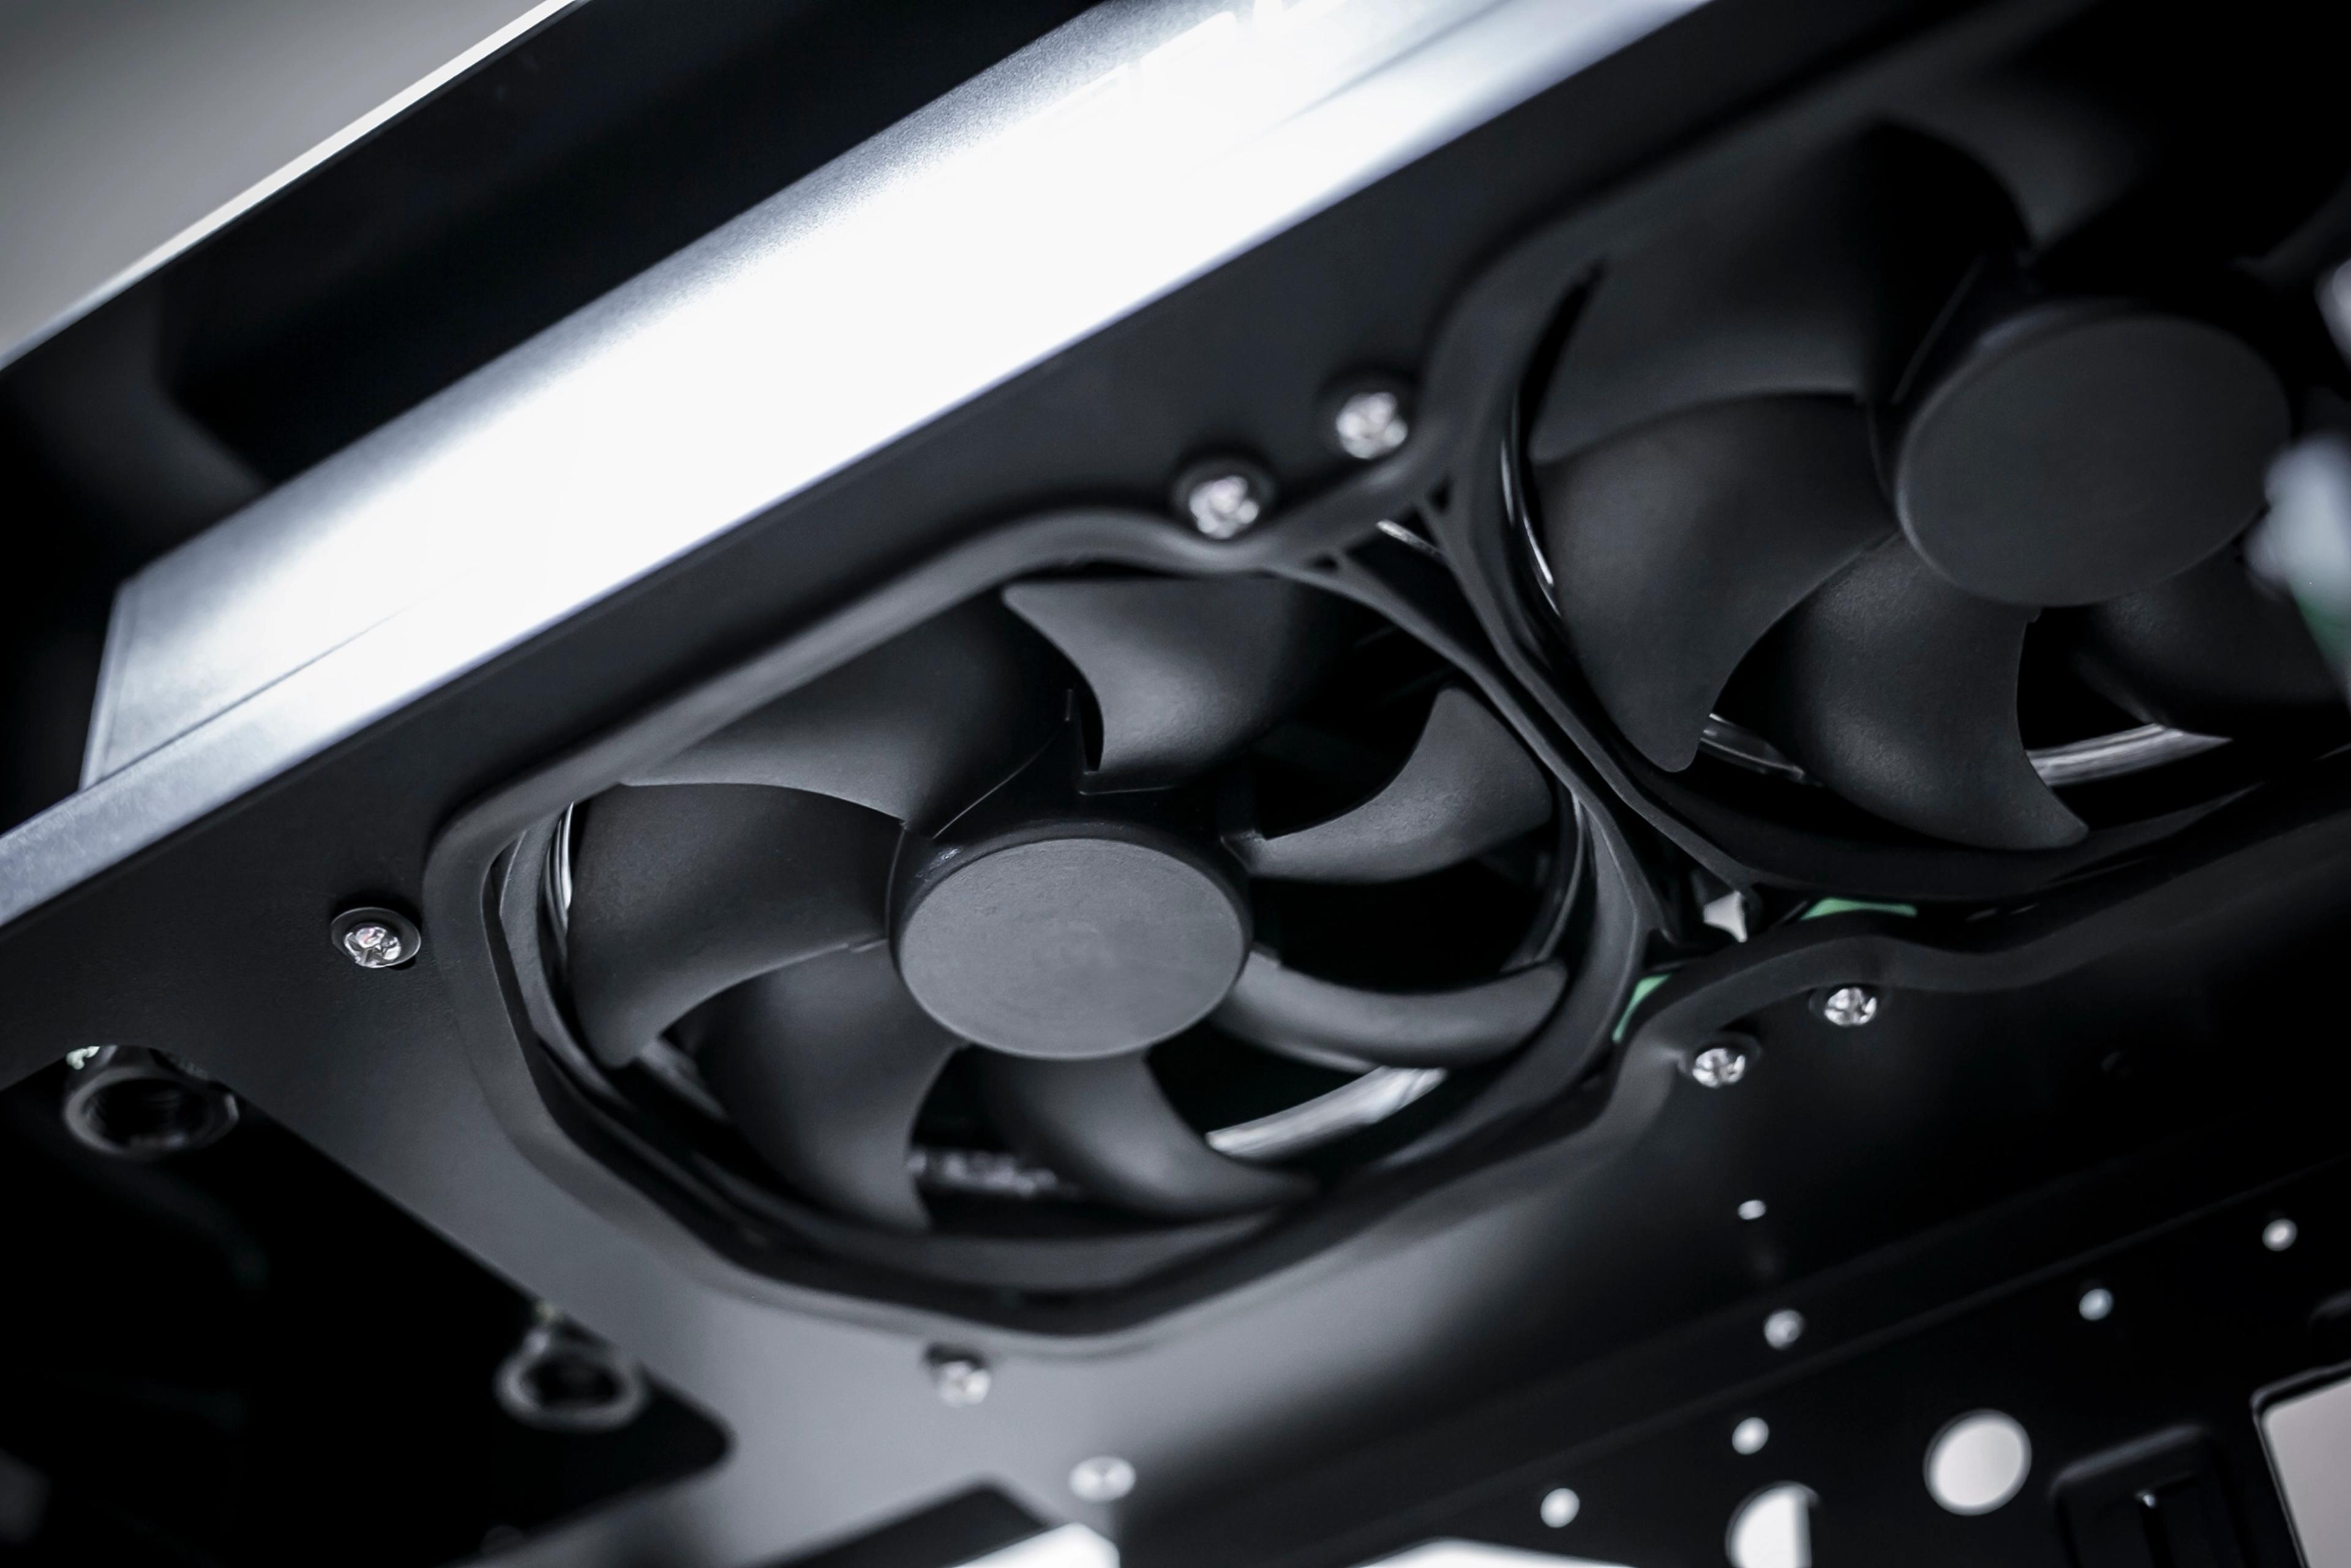
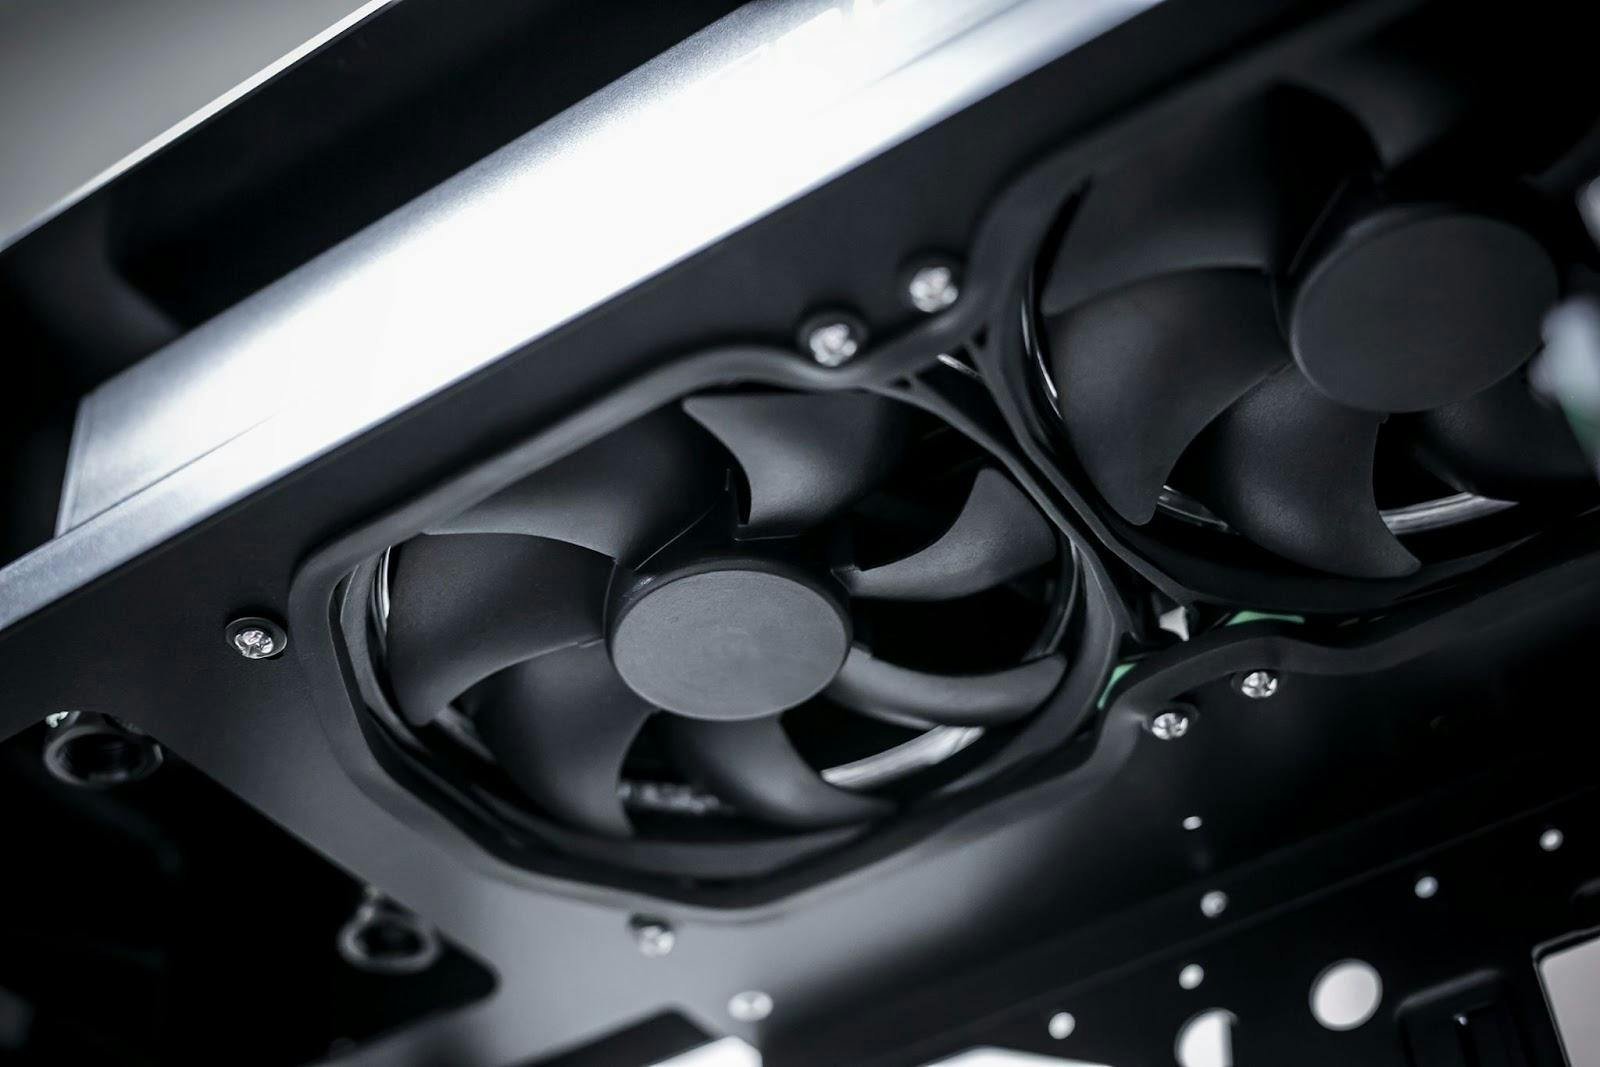
A fan grill is a great way to use a cheap existing product, and use it as a template for what you plan to do for more airflow or cooling! I had personally purchased a Phoyba fan grill in multiple sizes, more than ten years ago, and have used them for radiator cutout templates to much success. It becomes very easy to lay down some blue painters tape, position a fan grill where you want your fan or radiator located, then trace the grill onto the tape! Dremel work may be a little tricky due to some tight corners to cut around, but with some patience and care, you’ll nail it down in no time!

Wrapping Up
We hope some of these tips and tricks will help you get started with modding your PC, all the while relieving your wallet from further trauma! Your PC will be able to breathe easier and also look great doing it! Be careful though, this hobby gets addicting. Modding for airflow is only the beginning!
You’ll need to keep your eyes peeled for our next blog, where we finally dive into a beginner’s guide at custom liquid cooling!
Featured Posts

X50 Astral Orange Is Almost Here: Pick an Orange
The X50 Astral Orange is almost here, and we are turning up the heat in the best way we know how. It is time to celebrate the orange side of gaming.

Black Friday Gaming Gear & PC Deals 2025
HYTE Black Friday sales are here, and we’re excited to share the amazing deals we’ll be offering this year! Our Black Friday sales event is your chance to save big on some of our most popular products. From November 20th through December 2nd, enjoy incredible discounts on PC cases and gaming accessories that bring both performance and style to your setup. If you’re looking to upgrade, now’s the perfect time to do it with HYTE.

Official HYTE x Honkai: Star Rail Firefly Collection!
The stars have aligned, and the Official HYTE x Honkai: Star Rail Firefly Collection is ready for launch.

HYTE's 4th Anniversary Sale!
We’ve come a long way, and it’s all thanks to you! To celebrate HYTE’s anniversary, we’re giving back with a limited-time Anniversary Sale from Oct. 5 to Oct. 7.
