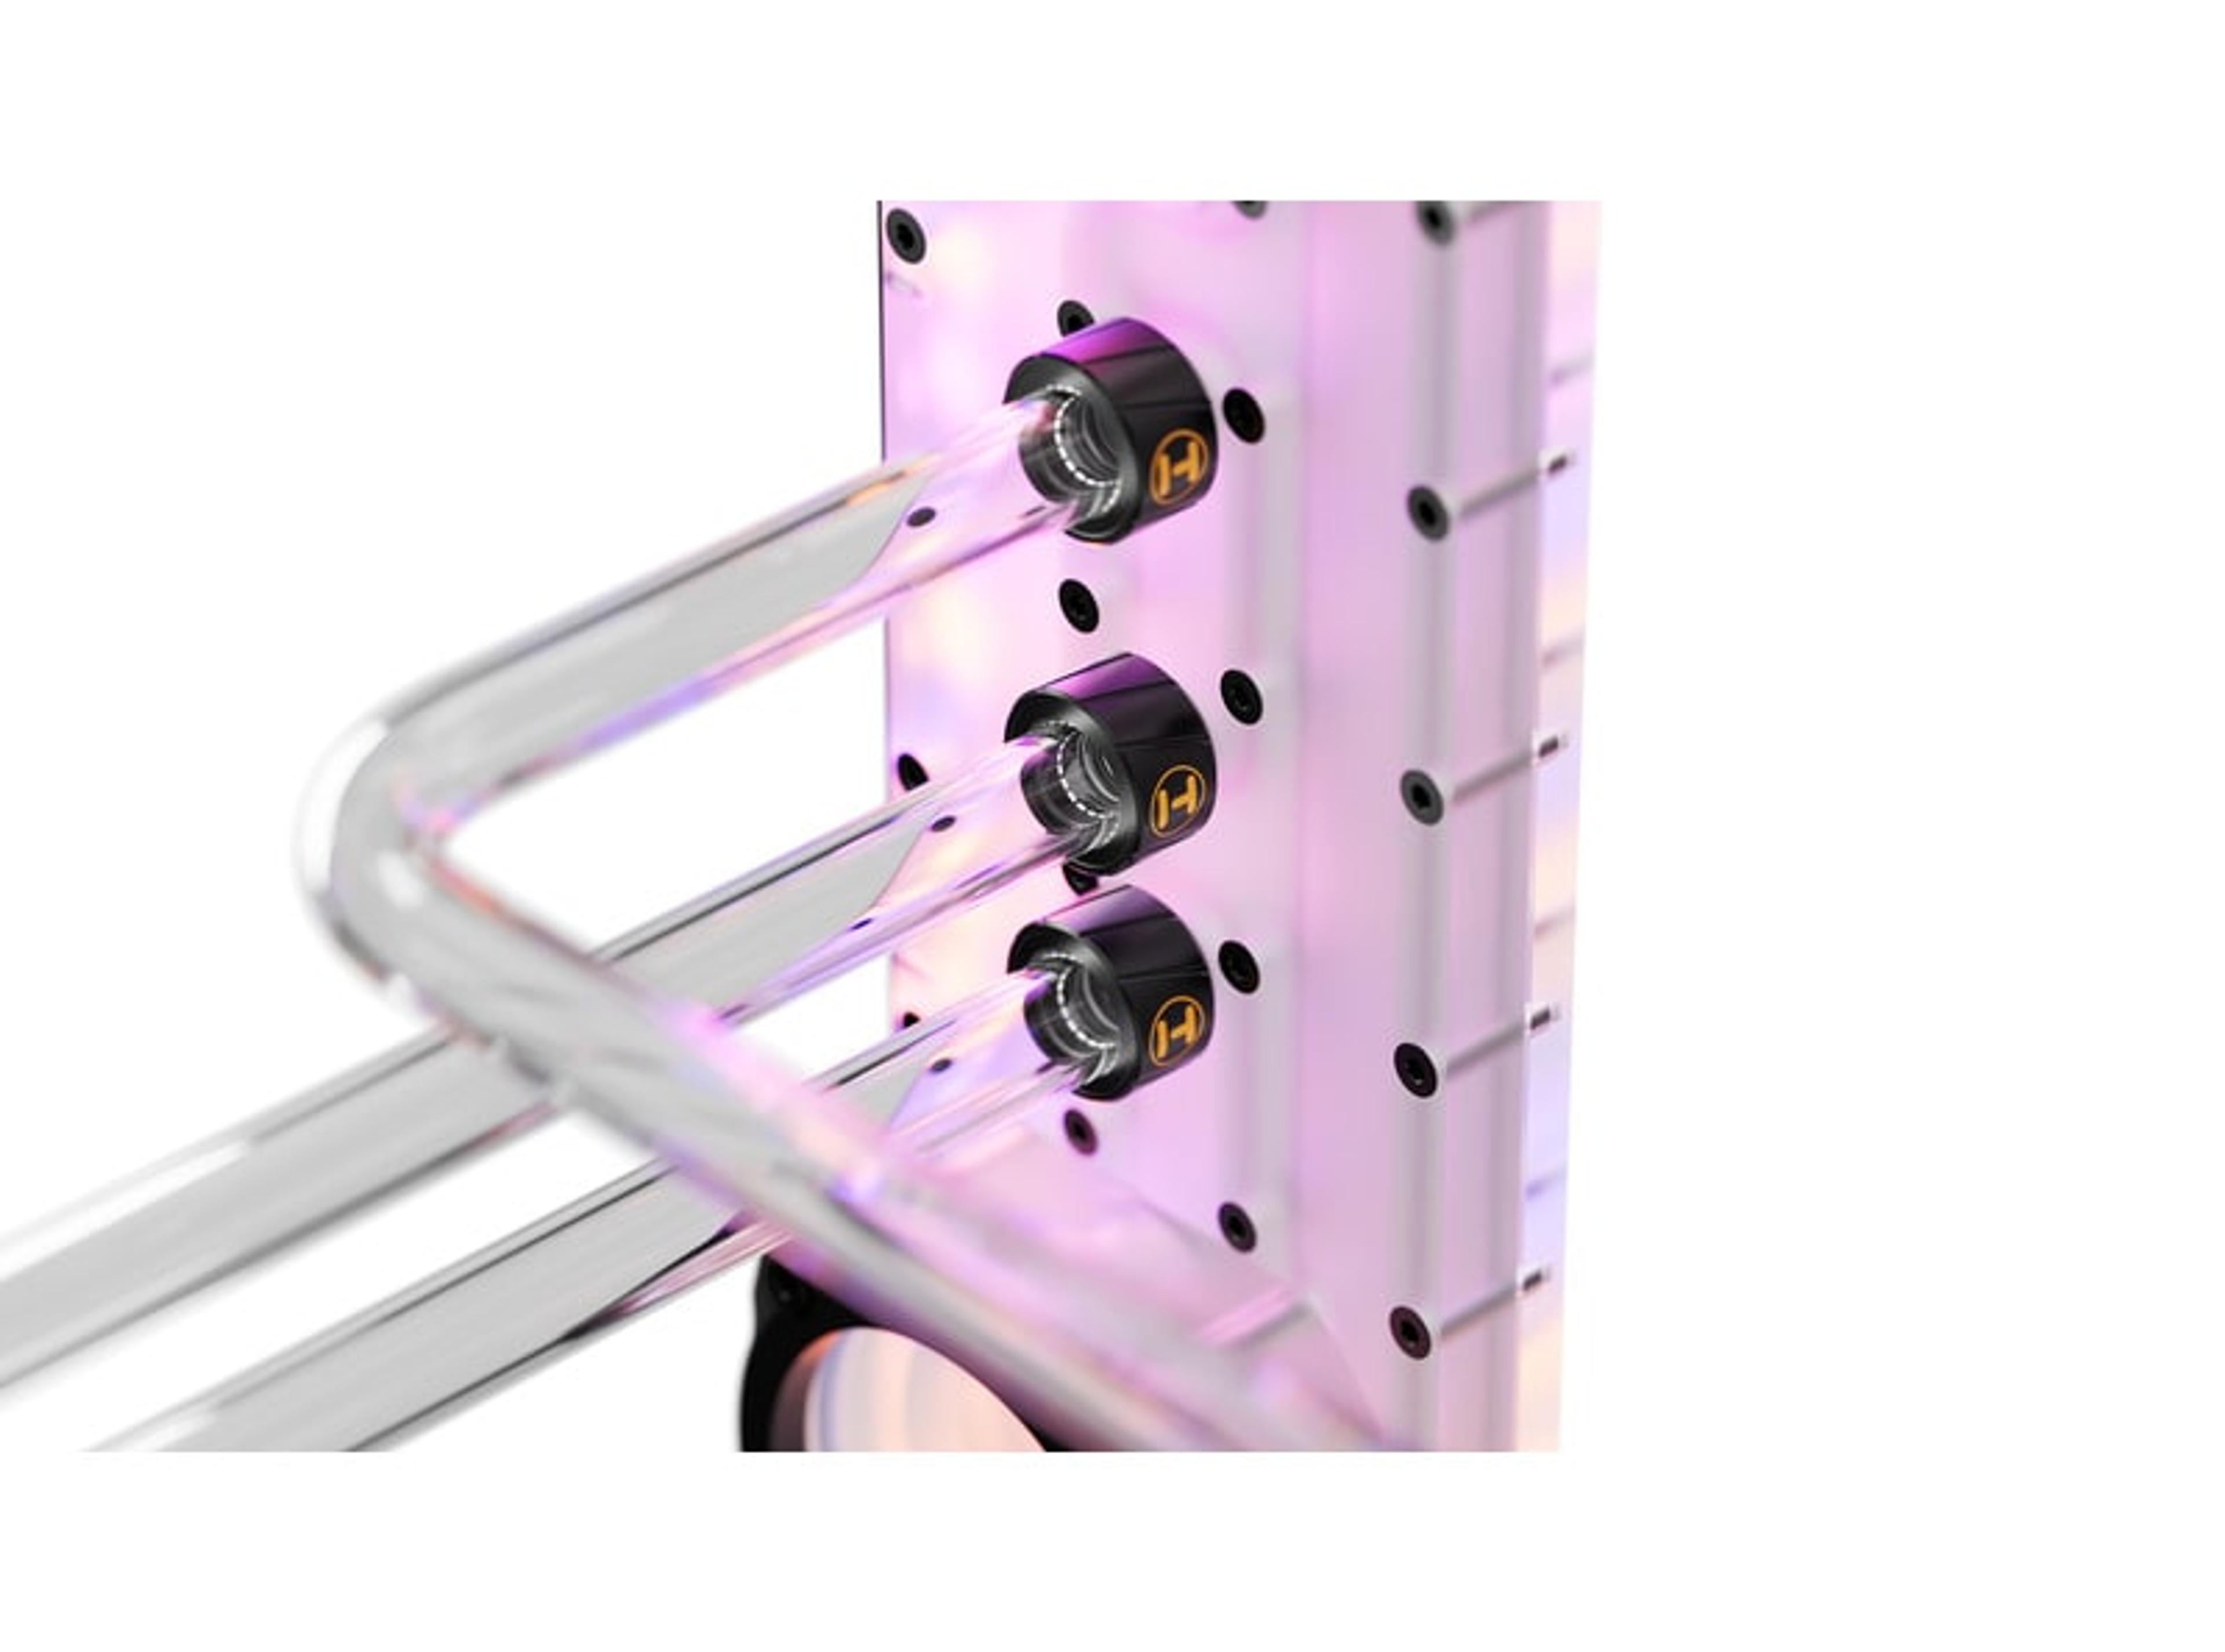
How to Clean and Maintain a Liquid Cooled PC
How to Maintain and Clean Liquid Cooling Components
Liquid cooling systems, a popular choice among gamers for their ability to maximize performance and maintain lower temperatures, offer superior heat dissipation compared to traditional air coolers. This cooling system ensures your components run smoothly even under intense workloads.
This PC liquid cooling maintenance guide outlines the crucial steps to cleaning your liquid cooling components to avoid common issues like clogging, corrosion, and performance degradation. That way, you can keep your PC in top shape, even with any extra PC accessories you add to fulfill your gaming needs.
Why Water Cooler PC Maintenance is Important
Maintaining a water-cooled PC is crucial to ensure its longevity and optimal performance. Regular upkeep is key to preventing several issues that can compromise your setup, such as clogging, leaks, and corrosion.
These issues include:
- Debris or sediment buildup leads to clogs, reducing water flow and pressure. This buildup strains the pump and can diminish cooling efficiency, causing higher temperatures and reduced performance.
- Leaks in a water-cooled PC can be particularly damaging, potentially causing short circuits and internal component damage. Regular inspections of connections, fittings, and joints are essential to prevent such issues.
- Corrosion is another potential issue when metal parts in the cooling system react with the coolant. It erodes components and contaminates the water, leading to further damage and inefficiencies.
- An inefficient cooling system can cause overheating, potentially leading to your PC crashing, throttling, or shutting down and damaging critical components like the CPU and GPU. These issues highlight the urgency and importance of regular maintenance.
- A clogged or malfunctioning pump can produce excessive noise as it struggles to maintain adequate flow.
Keeping up with your computer’s liquid cooling maintenance ensures that your gaming PC operates smoothly and enjoys a longer lifespan.
What Do I Need to Clean a Liquid Cooling System?
You'll need a few essential tools and materials to ensure a thorough and safe process for effective liquid-cooled CPU maintenance.
Here are some of the items you’ll need:
- Distilled Water: This water is free from impurities that could damage your components or leave residues behind.
- Soft Brush or Cloth: Clean surfaces without scratching or damaging delicate parts.
- Soft Toothbrush: To scrub water blocks and other components to remove buildup.
- Compressed Air: Ideal for cleaning radiator fins and removing dust from hard-to-reach areas.
- Waste Container: This container, whether a bucket or any sealable container, collects the old coolant.
- Filling Aid: To add the flushing fluid without spills, a purpose-made fill bottle, syringe, or simple cup-and-funnel setup can be used.
- Tubing and Fittings: Flexible tubing connects your drain valve to the waste container, and additional tubing and fittings are available for the fill port if needed.
- Power Supply: This supplies power to the pump during the cleaning process. You can use your existing PC power supply or an external one.
- Squeeze Bottle or Syringe: Adds and removes fluids from the system.
- Drain Pan: Catches residual coolant during the flushing process.
- Screwdriver: To disassemble components when accessing the cooling system.
- Microfiber Cloth: For cleaning and drying components.
- Isopropyl Alcohol: Cleans stubborn residues or is ideal for spot cleaning.
- Mild Detergent or Vinegar (Optional): You might use a mild detergent or vinegar for deeper cleaning, but if your cooling loop has nickel-plated components, avoid vinegar, which can damage the finish.
With these tools and materials, you’ll be well-equipped for PC liquid cooling maintenance, ensuring your PC continues to perform optimally and prolongs the lifespan of its components.
How to Clean a Liquid Cooling System
Computer liquid cooling maintenance, while essential, is not as complex as it may seem. With the right tools and techniques, you can keep your PC running efficiently and preserve its longevity, feeling confident and capable in the process.
Here’s a step-by-step guide on how to clean a liquid cooling system:
- Clean the Radiator: Start with the radiator, which accumulates dust and debris, impacting airflow and cooling efficiency. Use compressed air, a soft brush, or a vacuum cleaner to remove dust from the radiator fins. Wipe the surface with a damp or microfiber cloth to clear any remaining residue, and avoid anything that could damage the radiator, such as water or harsh chemicals.
- Flush the Loop: The cooling loop, consisting of tubes, fittings, and blocks, can get dirty or contaminated with algae, bacteria, or metal particles. First, drain the old coolant into a waste container to flush it. Disconnect the tubes from the blocks and run distilled water or a cleaning solution through the loop. Continue this process until the water exiting the system is transparent. If using a vinegar solution for cleaning, perform two additional flushes with pure distilled water to remove vinegar residue.
- Clean the Water Block: Disassemble the water block and soak it in distilled water and, potentially, a mild detergent. Use a soft brush or cloth to clean the block, removing any oxidation or dust buildup.
- Refill the Reservoir: Refill the reservoir with fresh coolant or distilled water mixed with a biocide and inhibitor. Avoid using tap water or any additives that might cause corrosion. Fill the reservoir to the recommended level and bleed any air bubbles from the loop to avoid vapor lock during the filling process.
- Replace Tubes and Fittings: Over time, tubes and fittings may degrade due to heat, pressure, or UV exposure. Replace these components as needed by measuring the length and diameter of the old ones and cutting new tubes accordingly. Secure compatible fittings with clamps, zip ties, or compression rings.
- Test the System: After reassembling the system, run the pump at full speed and check for leaks, clogs, or performance issues. Monitor the temperatures and pressures of your components and listen for unusual noises. Perform a stress test or benchmark to ensure the system operates correctly under load.
Additional Tips for PC Liquid Cooling Maintenance
Regular inspections for leaks are essential to maintain the health of your water cooling system. Routinely check all tubes, fittings, and blocks for any signs of moisture or loose connections. Promptly addressing leaks can prevent damage to your PC components and prevent potential electrical shorts.
Additionally, performing a system flush and replacing the coolant at least once a year is essential. Depending on the condition of the coolant and any visible contaminants, you may need to adjust this schedule. Consistent maintenance helps ensure your liquid cooling system continues to operate efficiently and extends the lifespan of your components.
Maintaining Good Airflow in Your Gaming PC
Water cooler PC maintenance might seem complex, but regular care and proper techniques can be straightforward and rewarding. Adhering to a maintenance schedule will keep your PC running smoothly, providing the best possible performance for your gaming and computing needs.
At HYTE, our cooling solutions can also help ensure your PC doesn’t overheat during intense gaming sessions.
Ausgewählte Beiträge

Metaphor: ReFantazio Tips & Tricks
Boost your experience in Metaphor: ReFantazio with helpful tips and tricks. From gameplay basics to progression advice, we’ve got you covered.

HYTE at COMPUTEX 2025
HYTE was at COMPUTEX 2025 in Taipei, Taiwan to showcase the latest innovations in PC building and gaming technology.

Best Archetypes - Metaphor: ReFantazio Guide
Uncover the best Metaphor: ReFantazio archetypes and how they shape your journey. Explore unique builds, roles, and strategies across all archetypes.

HYTE Tariff Announcement
On 4/8/25 HYTE will regrettably be forced to increase prices due to the ongoing tariffs. Our full statement & additional details are enclosed.
