Beginner's Guide to Custom Liquid Cooling
Hey you. You’re finally awake.
You’ve finally realized the awesome world of liquid cooled PC’s! And what a deep rabbit hole this aspect of the PC hobby is. There are many layers to liquid cooling (also known as water cooling), and a good starting point is covering all of the components that you are going to need to know about before putting together a custom loop of your own!
After you read this article, you’ll have a better understanding of what you will need to achieve whatever it is that you’re after - whether it’s lower temperatures for your components, designing a super flashy and cool-looking PC, or even both! It’s fully possible to take your PC to the next level in a multitude of ways through liquid cooling.
Waterblocks
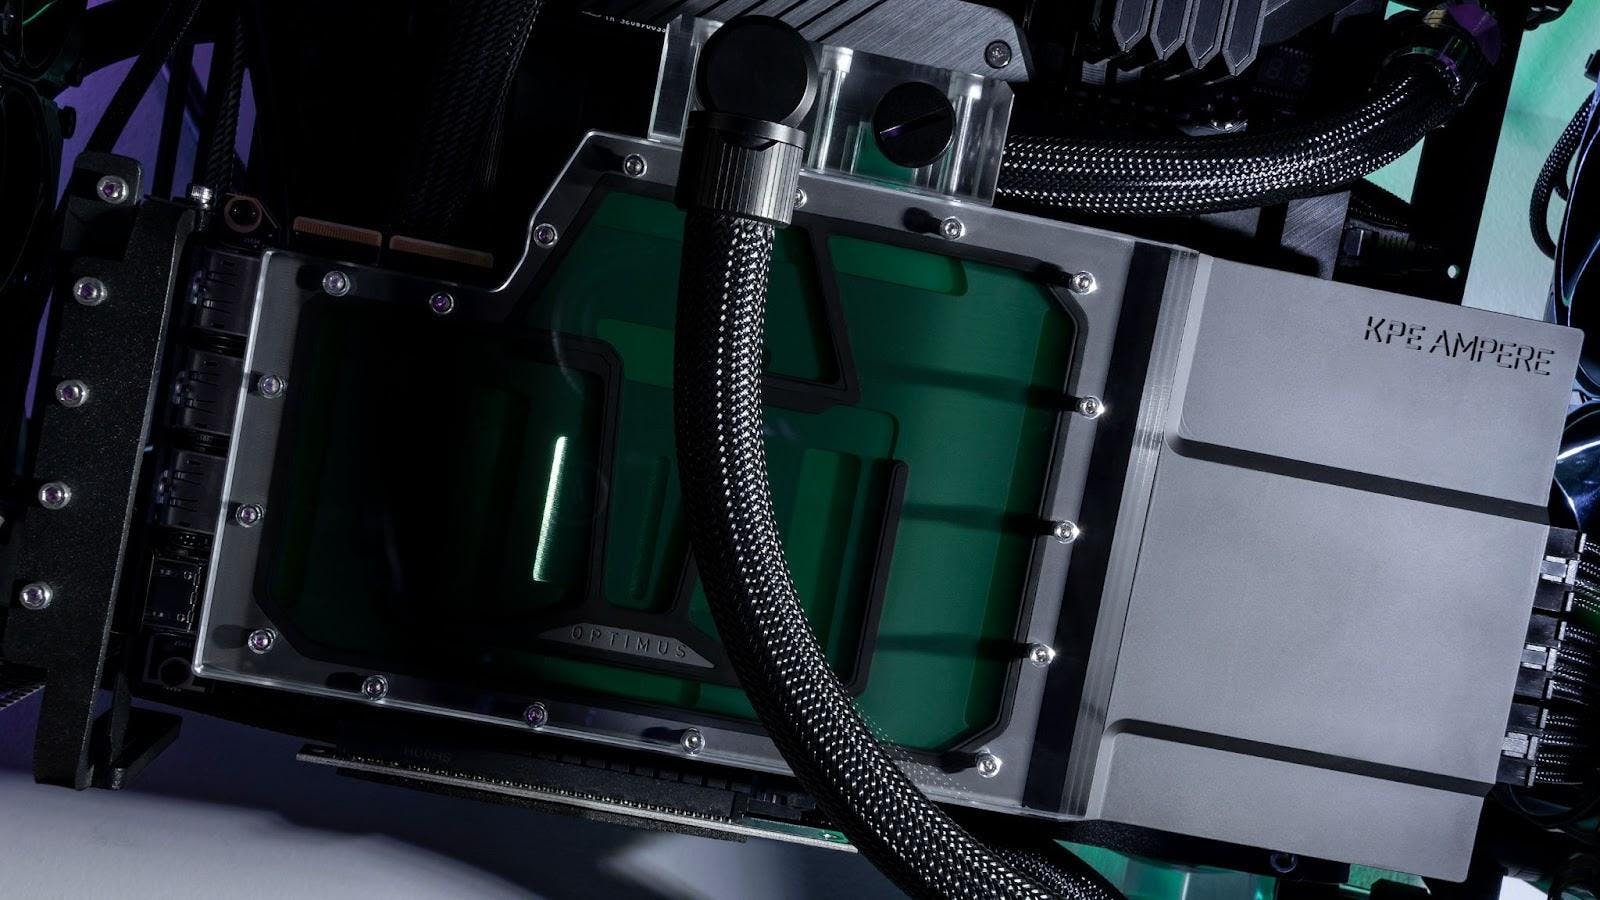
Waterblocks come in a huge assortment, either designed for a specific CPU or GPU, or they’re designed to be as universal as possible. For GPUs, the current trend for both maximum performance and aesthetics is to go with what is called a ‘full cover block’. These full cover blocks are named rightly for their ability to encompass the entire GPU PCB, all the while cooling, not just the GPU chip die itself, but the surrounding power delivery and memory as well. The higher end GPUs even have memory on the backside of their PCBs, and so there have since been full cover blackplate blocks to account for the backside memory heating up.
For CPUs, your chance to reuse a waterblock is much higher, since the block’s only real limiting factor is the socket compatibility that the block’s mounting bracket will have. Being that CPU sockets or even socket layouts last for multiple hardware generations, this will allow you to keep that same block over the years. Even then, don’t be surprised to see updated mounting brackets for new socket layouts from multiple waterblock manufacturers.
Monoblocks are slightly more complex than a normal CPU block, however, they are very much like full cover GPU blocks, in that they are designed to work with a specific motherboard, and the motherboard’s own power delivery and chipset also get actively cooled with liquid along with the CPU. It is rare, but still possible to find waterblocks that are designed to cool just the power delivery or chipset on a motherboard, completely separate from the CPU.
Then you have universal GPU blocks, which is a path that very few travel. This is because though the block designs and mounting brackets are designed to be as universal as possible throughout multiple GPU generations, these types of blocks only actively cool the GPU die itself, not the power delivery, or memory. So you must find other ways to cool those - like with adhesive passive heatsinks for example.
Radiators
Radiators are available in a ton of different sizes, and also in various arrays. The most commonly used size, utilizes the 120mm form factor, like a 240mm or a 360mm. Form factors aren’t the only difference though, there are radiators that are manufactured in similar fashions to automobile radiators, with round copper tubing with stacked and pressed fin arrays. There are radiators that have integrated pumps or fluid temperature sensors. Some even have machined acrylic on both ends for an aesthetic flare.
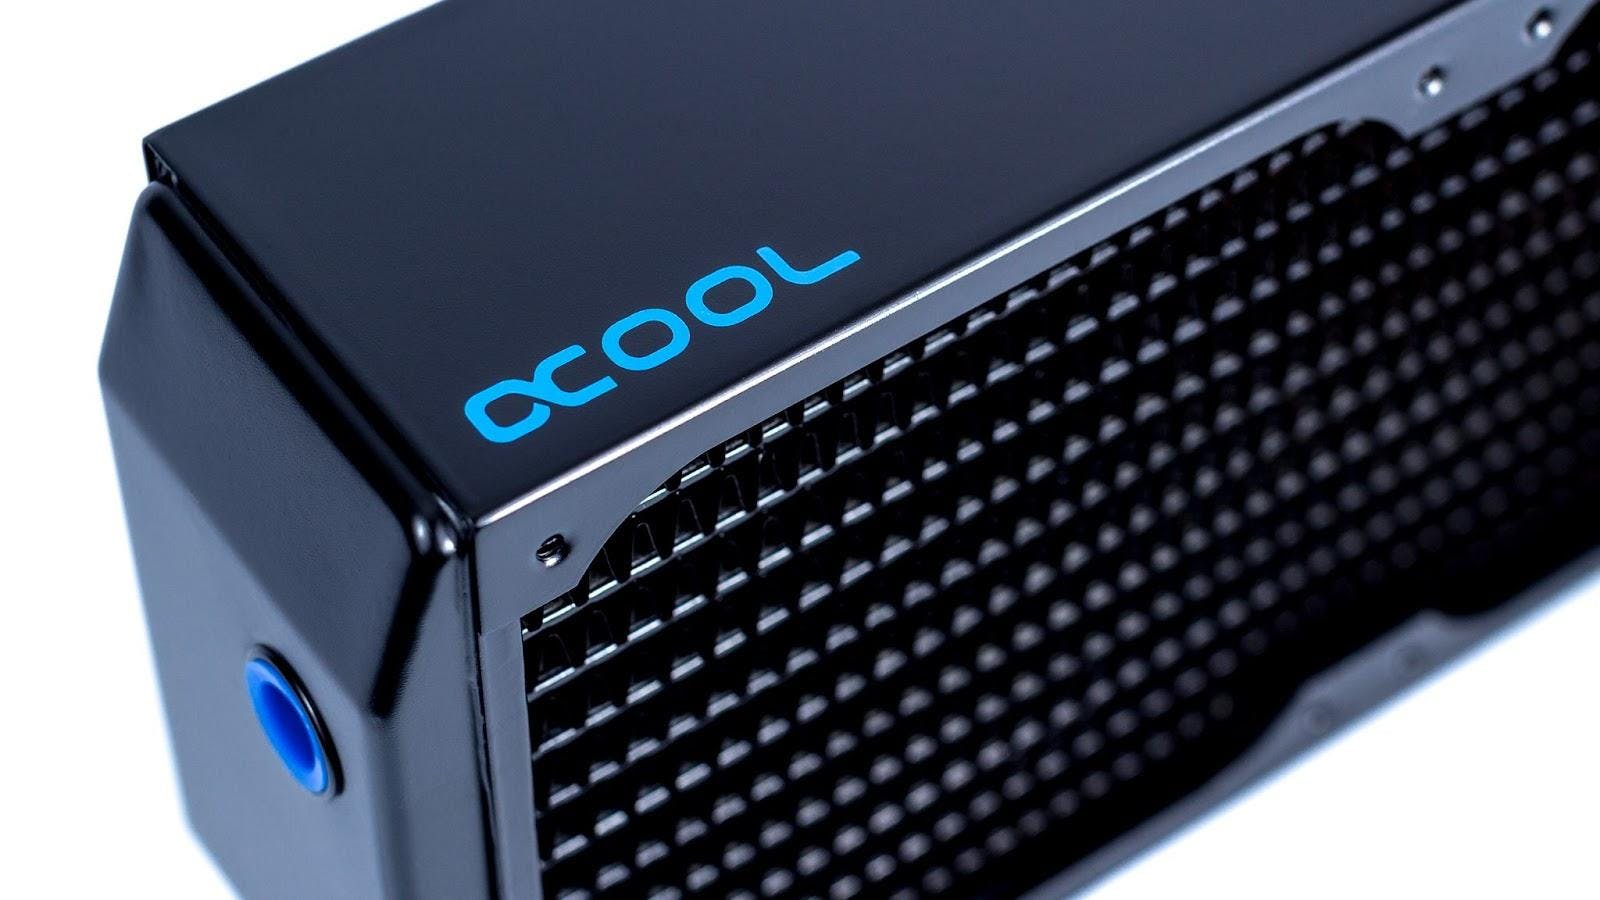
In my honest opinion, radiators are one of the most important components when it comes to the overall performance of what your liquid cooling loop can do, and yet many have fallen into the trap of choosing a good-looking radiator over a better performing radiator.
When choosing the radiator for your build, it’s important to do your due diligence about what each radiator has to offer as well as the size radiator your case selection will allow for.
Pumps
There have been many different pump designs to grace this market over the years. For overall product compatibility, your best choices will be either the D5 or DDC pump. However, each pump is somewhat designed for different types of liquid cooling components.
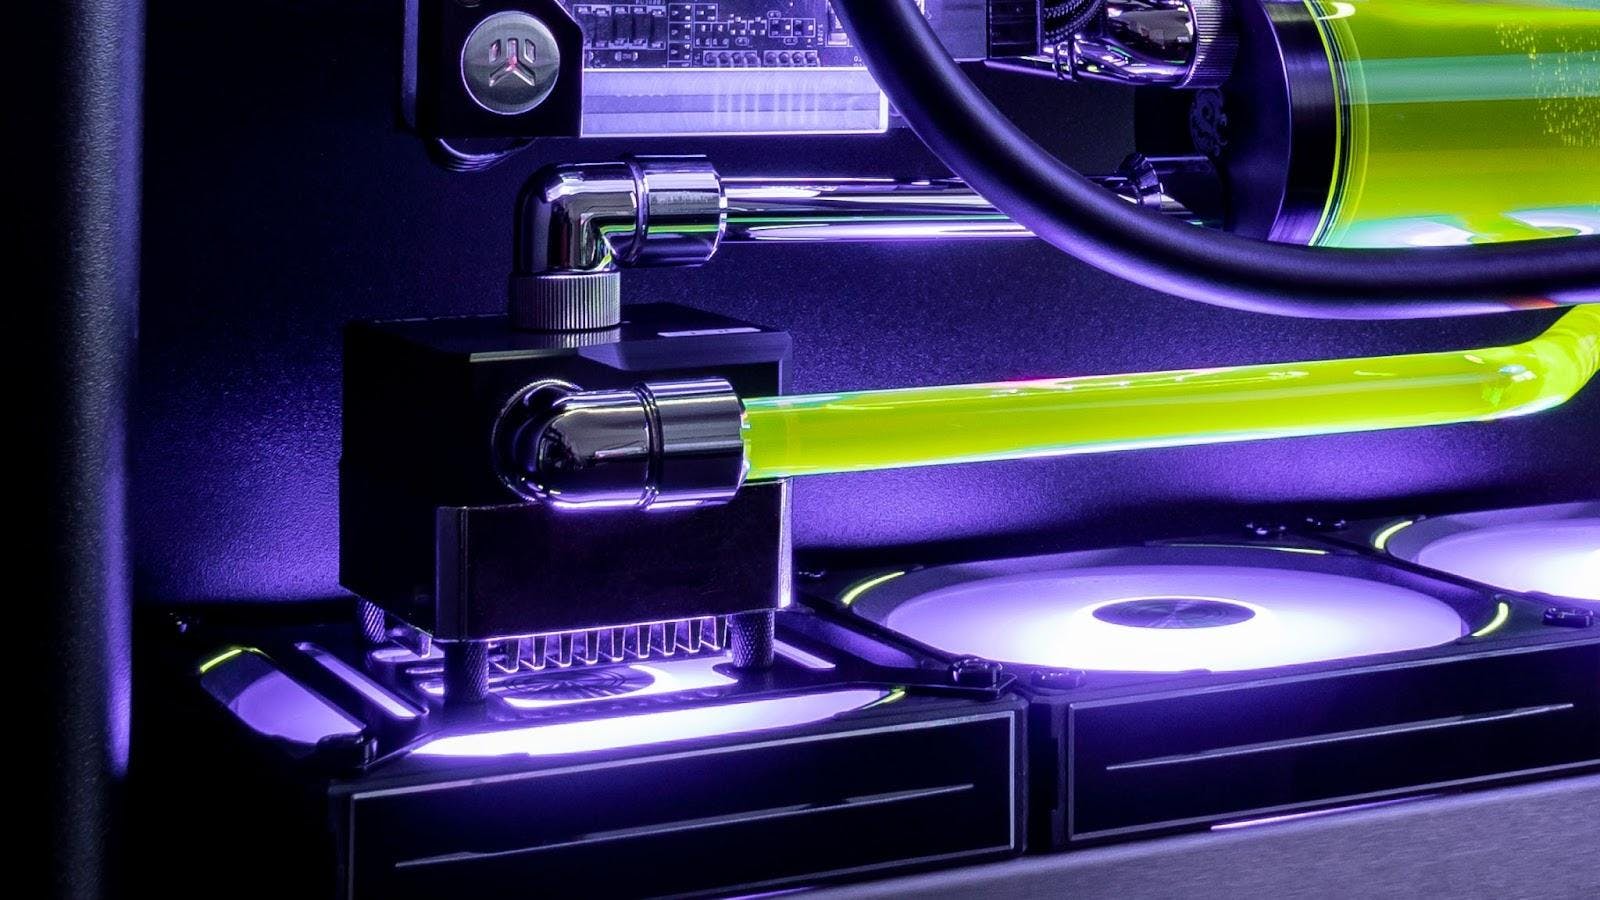
DDC pumps operate at a higher pressure and are meant for higher restriction components, but with overall less flow than a D5 pump. D5 pumps are meant for more complex loop designs, but they operate at a lower pressure than the DDC. Their form factors are also quite different, where a DDC is much smaller and easier to place inside an ITX based system for example. D5’s are plentiful within bigger-sized builds since they indeed demand more real estate within your case.
Both pumps have a plethora of ‘Pump Tops’ available, that allows more flow, as well as relocating port locations. Some pump tops even have the ability to upgrade into a reservoir itself, forming a pump-reservoir combination.
Reservoirs
Reservoirs are some of my personal favorite components within a liquid cooling loop. Like some of the other components, these also come in a very wide range of sizes and even shapes. Cylindrical ‘tube’ style reservoirs are the most commonplace, however, there are many new designs making their presence known, too.
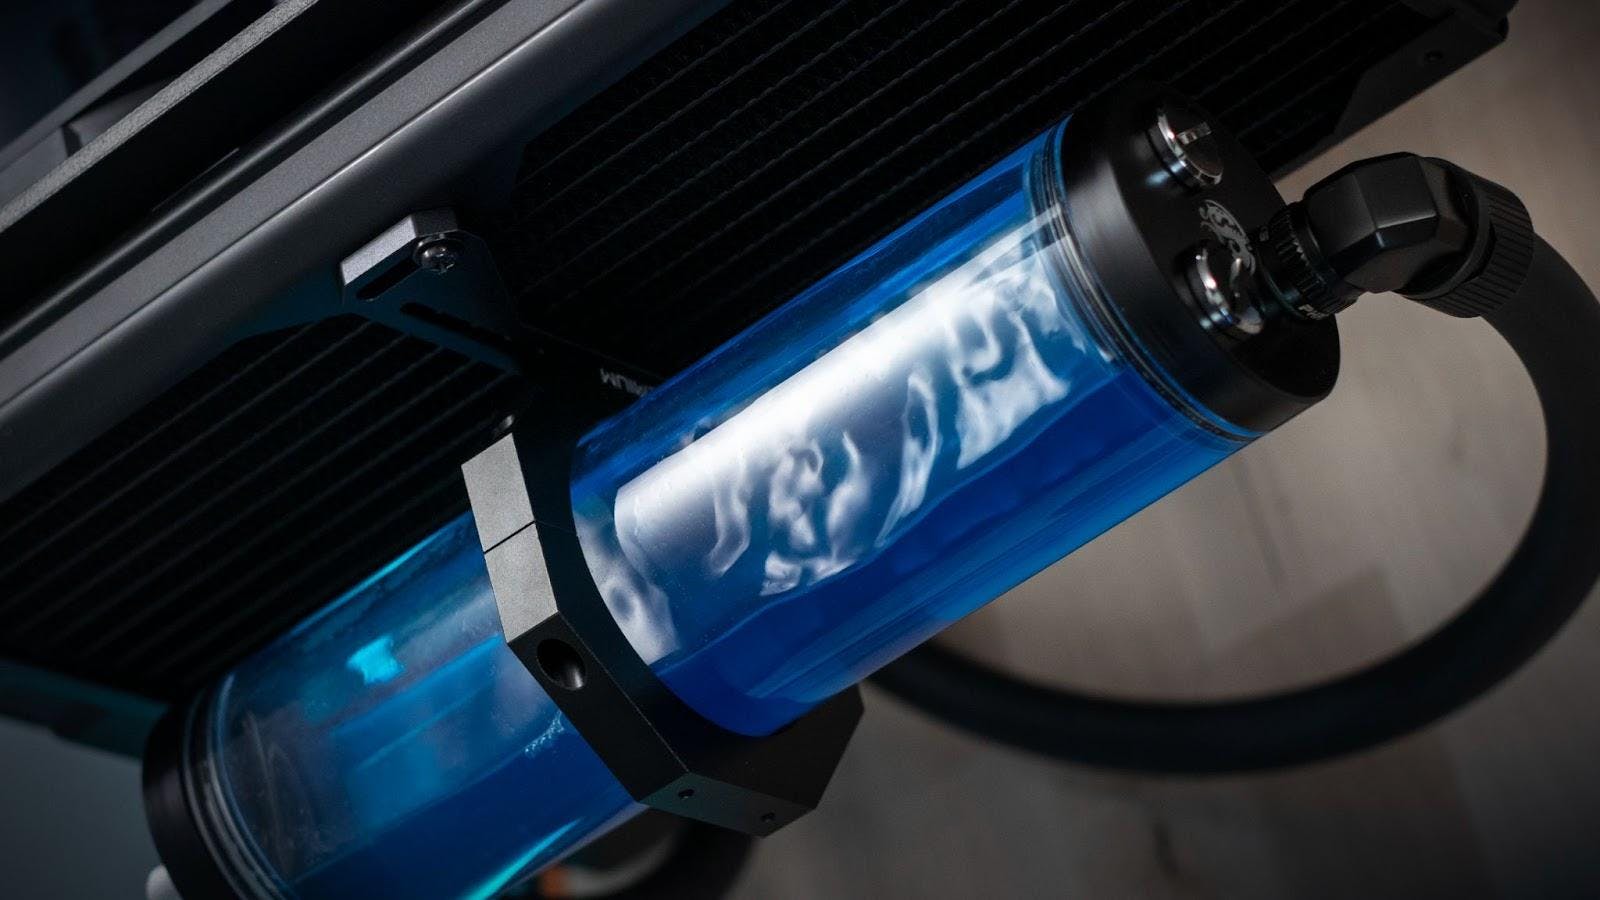
The main purpose of a reservoir is to make sure that your pump is being properly fed with liquid and not air. If you have too much air being fed into your pump, the pump bearing will burn out. You can design your liquid cooling loop without the presence of a reservoir, but it is not often recommended if you are new to liquid cooling, as it can be a bit tricky to figure out.
Loop Accessories
Over the past several years, there has been a huge influx of accessories to add to your existing or yet-to-be-finished liquid cooling loop. The most important accessory that I personally believe should be in everyone’s custom loop is a flow meter. A proper flow meter will allow you peace of mind knowing that your loop is working as optimally as it can. Some flowmeters even feature fluid temperature sensors, so that you can know how your loop is affected when your hardware is under full load versus sitting at idle.
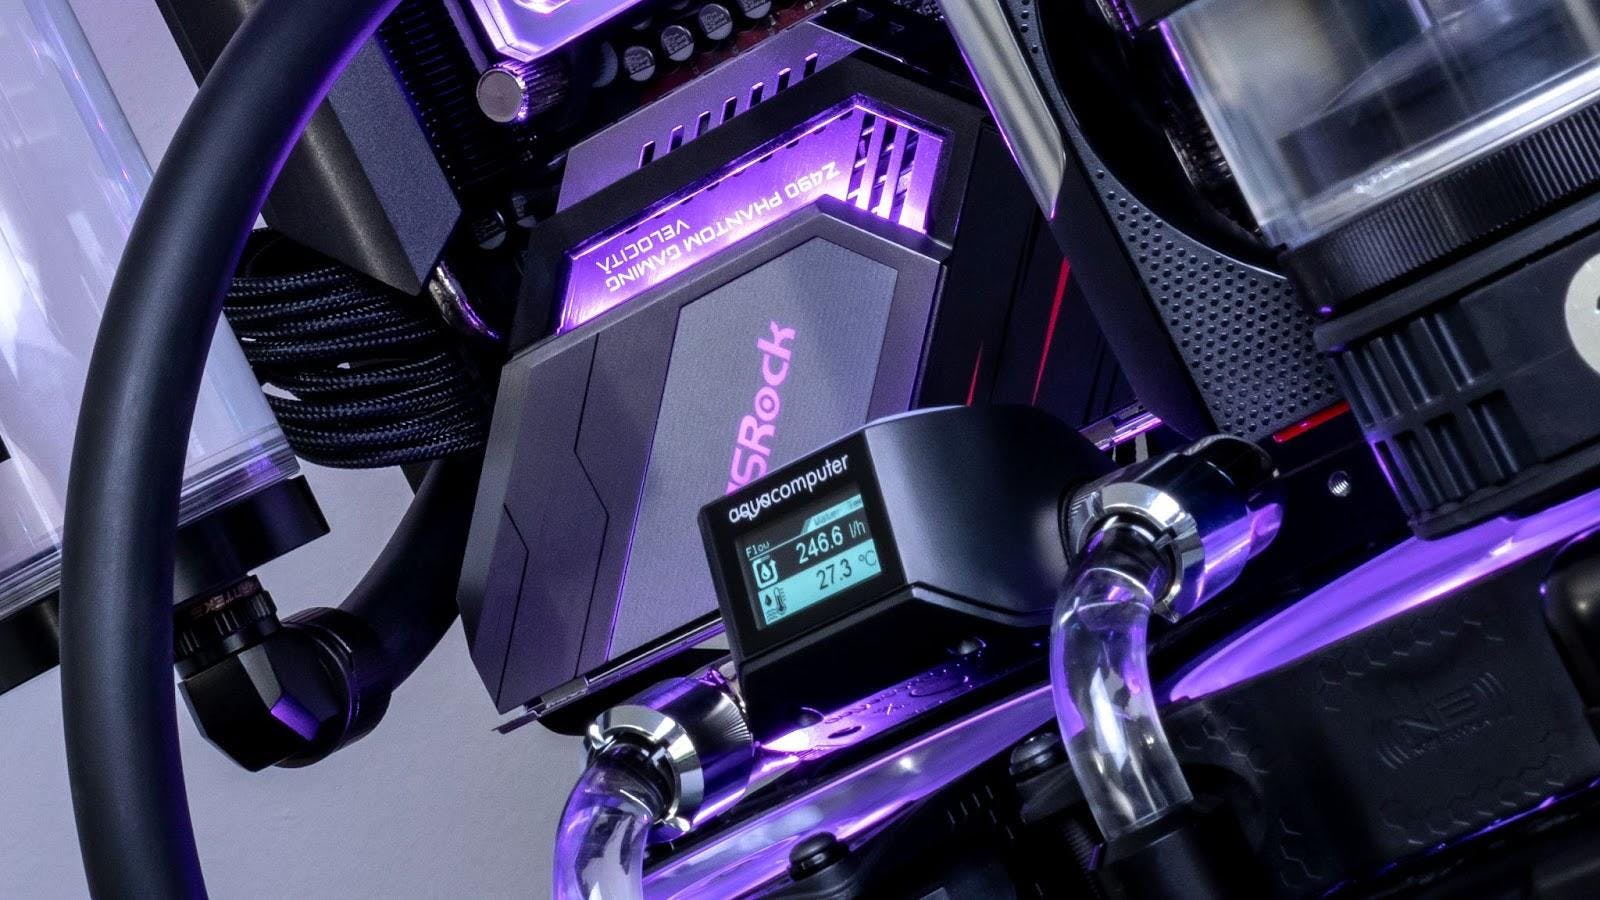
Temperature sensors for your loop’s fluid itself are a great way to base your radiator fan speeds on, since hardware temperatures can spike so quickly, you wouldn’t want your fans ramping up and down all the time, trying to accommodate those fluctuating spikes in temperature. Your fluid temp will be much more steady for creating solid pump and fan speed curves.
Inline filters are very handy to have since most radiators are rarely cleaned and flushed out properly at the factory it’s made in. Most of the time, traditional flat-tube style radiators are soldered, and there’s always the chance of flux and solder being introduced into your loop.
There have even been batches of soft tubing that without proper flushing, can introduce small specks of tubing material into your fluid as well. These floating particles can get lodged into your CPU block’s fin array, interrupting proper flow across it, negatively affecting the thermal performance of the block, and will hurt your maximum flow rate.
Though it may still be considered a loop accessory, I personally believe it should be considered an absolute necessity, and that is a drain valve for your loop. I will gladly admit that I have opted to leave out drain valves, only due to the pure excitement of finishing a liquid cooling loop… and I paid for it when it was time to empty the loop.
Placing a drain valve either inline within a tubing run or off of a splitter fitting coming from a component itself, will alleviate headaches and save time. Make sure your drain valve is located near or at the lowest part of your loop so that you can let gravity push most of the fluid out when opened.
Fittings and Tubing
Drain valves aside, fittings and the tubing that is used for liquid cooling loops are pretty straightforward. You’ll have to make sure you’ve got the right size tubing for the size fittings you choose, but other than getting the correct sizes, it’s fully up to you on what fitting color or style you choose to go with.
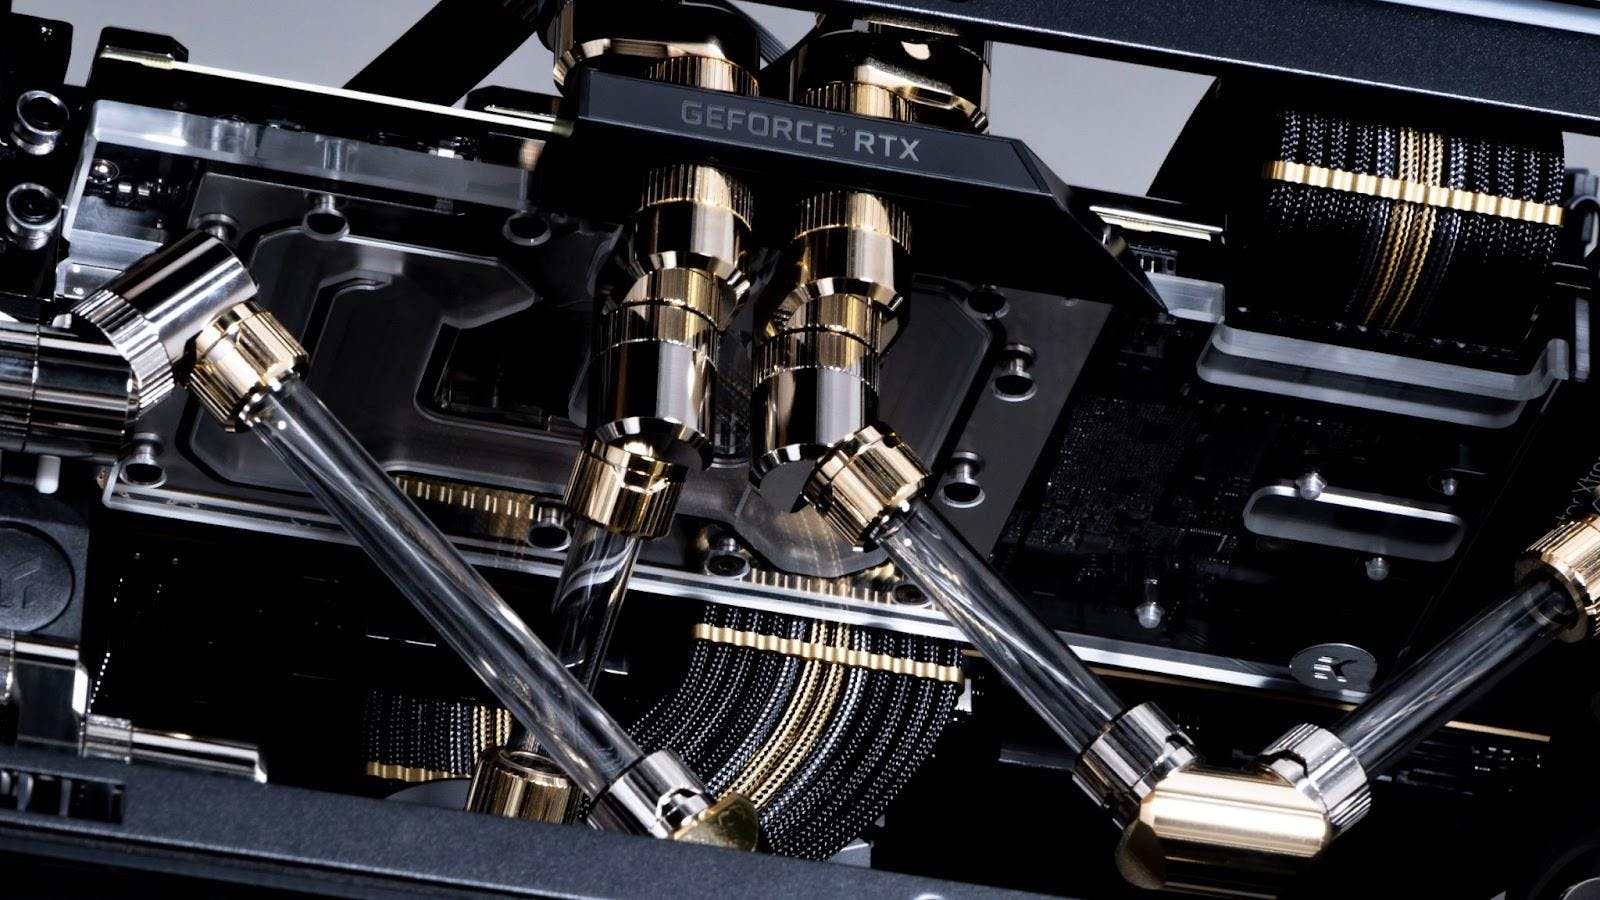
As for tubing, choices remain relatively limited. Certain tubing material properties can either help you or hurt you.
PETG hard tubing, for example, is really nice for creating complex bends but has a much lower melting point, so if your fluid gets too hot, the tubing will lose structural integrity. You then might have tubing slip out of fittings or just the bends themselves softening completely.
Acrylic hard tubing is the opposite a bit, in that it’s much harder to create complex bends with, but has a much higher melting point. You wouldn’t need to worry about fluid temps as much with acrylic, though in my opinion fluid temps should always be monitored regardless of tubing material.
Soft tubing is much easier to deal with and can look just as good as hard tubing. The only caveat with soft tubing is making sure the soft tubing material you choose doesn't have any plasticizers involved, as those will slowly leach into your loop’s fluid. This will create a cloudy look to your once-transparent tubing, and can also accumulate on every surface your fluid touches. In this case, I personally will recommend EPDM tubing. It’s satin black in appearance, and is perfectly safe for your loop.
Fluids
The last aspect to consider is your fluid. These days, there are tons of options for fluids. The main thing to look for is a fluid that includes corrosion inhibitors, along with a biocide. The corrosion inhibitors are there to protect your liquid cooling components from any sort of metal-to-metal reaction - such as galvanic corrosion.
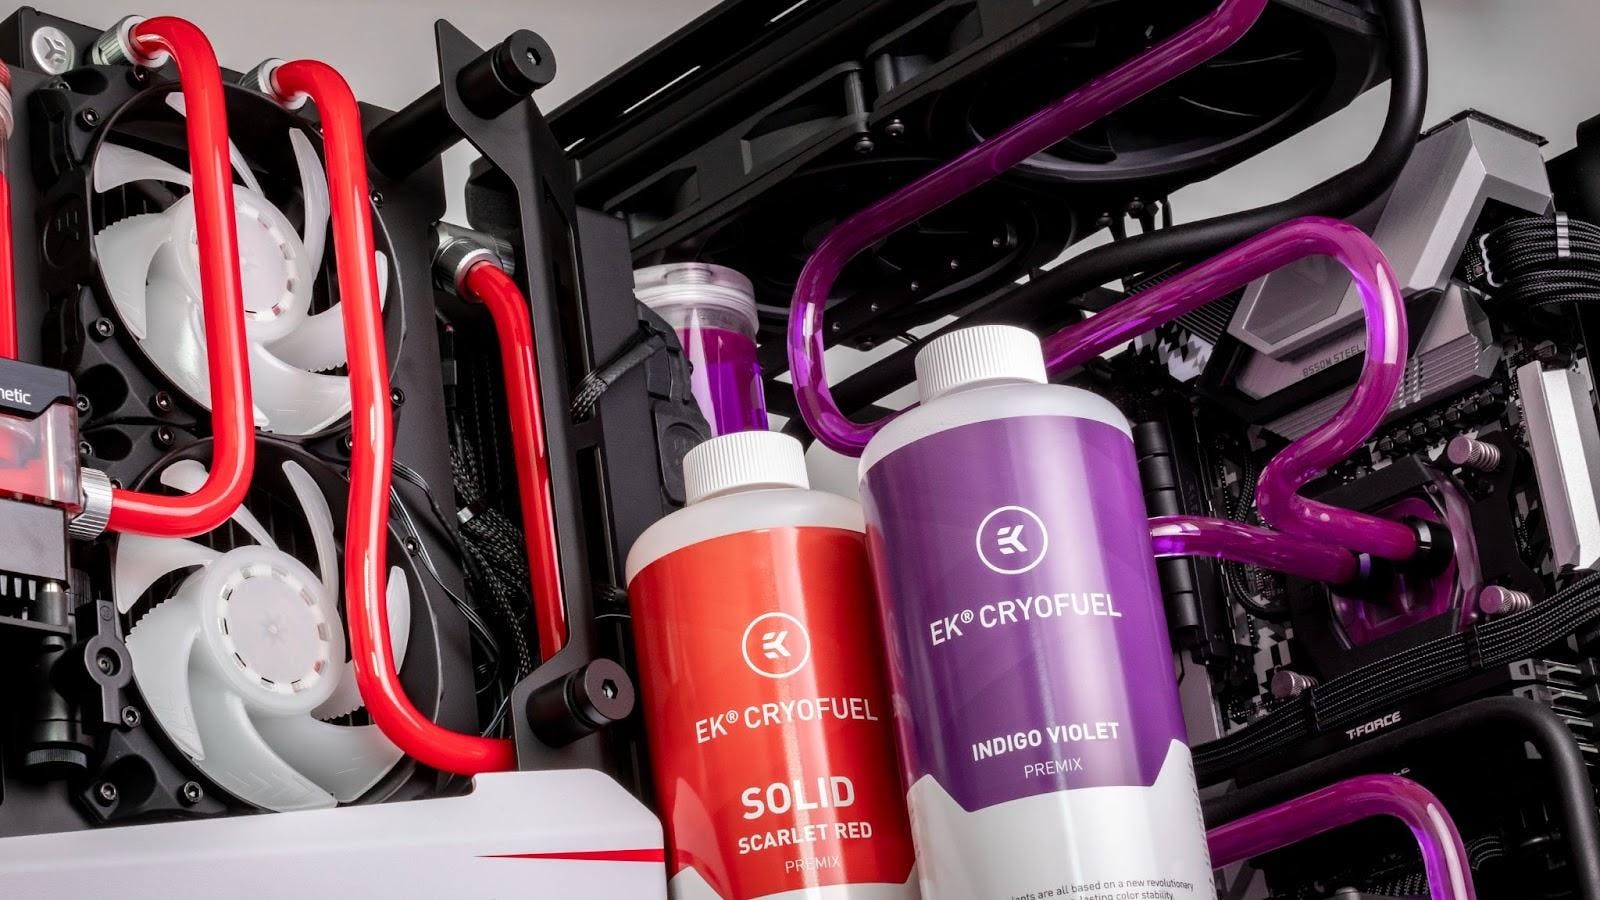
Galvanic corrosion specifically happens when you mix aluminum with any other type of metal in a closed liquid loop. Aluminum is absolutely out of the question for these types of setups, unless every other component that is metal in the loop is also aluminum. Biocides are implemented due to custom loops being ideal ecosystems for bacteria and algae to grow in.
You can buy corrosion inhibitors and biocides separately so that you can use distilled water as your fluid of choice. For translucent fluids, I have had great experiences with EKWB’s.
Wrapping Up
I know it’s a lot to take in, but with a little due diligence in researching specific parts you have in mind when putting together your custom loop, you will be more than ready to enjoy your PC once your custom loop is done!
There are so many avenues to take when designing the layout of your loop, and it’s a great opportunity to get your build to look more unique. Liquid cooling components don’t need to follow the same sort of form factors or design language that actual computer hardware needs to follow, so it’s worthwhile getting your creative side to enjoy the experience.
We hope this information helps you out when moving forward with your PC build, and we’ll see you on the next one!
Featured Posts

Black Friday Gaming Gear & PC Deals 2025
HYTE Black Friday sales are here, and we’re excited to share the amazing deals we’ll be offering this year! Our Black Friday sales event is your chance to save big on some of our most popular products. From November 20th through December 2nd, enjoy incredible discounts on PC cases and gaming accessories that bring both performance and style to your setup. If you’re looking to upgrade, now’s the perfect time to do it with HYTE.

Official HYTE x Honkai: Star Rail Firefly Collection!
The stars have aligned, and the Official HYTE x Honkai: Star Rail Firefly Collection is ready for launch.

HYTE's 4th Anniversary Sale!
We’ve come a long way, and it’s all thanks to you! To celebrate HYTE’s anniversary, we’re giving back with a limited-time Anniversary Sale from Oct. 5 to Oct. 7.

HYTE X50 & X50 Air Pre-Orders Are Now Live!
The X50 redefines typical PC cases with a unique curved design and performance-driven elements. Pre-order the X50 and X50 Air NOW!
