
How to Clean a Mechanical Keyboard
It's been quite some time since you've cleaned your mechanical keyboard. Maybe you haven't cleaned it since you bought it. Either way, there's no better time than now to get your set up nice and tidy. Don't worry—the process is relatively painless. Most mechanical keyboards offer a simple method for disassembly, making the cleanup job a breeze.
Tools Needed to Clean A Mechanical Keyboard
Before you get started, you'll want to be properly equipped. Some of the following items are optional because everyone's situation is different! Whether it'll be a long overdue deep clean or a quick touch-up, here are some of the tools you need to clean your mechanical keyboard:
- Keycap puller: Most mechanical keyboards offer either a wire keycap puller or a plastic keycap puller right out of the box. Chances are, you probably have one sitting in a cabinet somewhere. It's important to use a keycap puller over pulling them by hand to avoid potential damage to the keyboard and its components.
- Switch puller: If your keyboard is hot-swappable, meaning you can easily pull your switch out without desoldering, you’re going to need a switch puller. This one is optional as dust usually accumulates above the plate. However, if you intend on doing some switch maintenance while you're cleaning, the switch puller is handy.
- Small bowl w/ mild soap & warm water: This will be used to soak and deep clean your keycaps. Dirt, dust, and oil buildup from the constant hand contact can make your keycaps feel grimy. It's also important to keep it well disinfected to practice good hygiene at your desk.
- Isopropyl alcohol: It’s also a good idea to have some isopropyl alcohol on hand – typically 70% is recommended, it doesn’t dissolve as quickly and it’s just as effective at a higher percentage, but it should be fine as long as it’s isopropyl.
- Soft bristle brush: A toothbrush also works fine for this! A soft bristle brush comes in handy to handle grime that may have accumulated on your keycaps or keyboard plate. It's also good for lightly sweeping dust off the top or from in between your switches.
- Microfiber cloths: This is a great way to wipe down your keyboard. Paper towels tend to leave behind little fibers that are pretty annoying to get rid of. Microfiber cloths eliminate having to deal with that.
- Canned air: This is a typical tool used to clean your PC and PC accessories. Just be sure to blow out your keyboard outside to avoid dust flying around your room!
- Hand vacuum: If you want to avoid creating a dust storm, a good hand vacuum is a very nice alternative. This is, of course, optional.
Cleaning a Mechanical Keyboard in 4 Steps
Alright, so you’ve got your tools ready, and your keyboard is on the way to getting nice and clean. With this guide, you'll receive 4 easy steps on how to clean up your mechanical keyboard. Before we start, remember to completely unplug your board for safety, ease of access, and to avoid accidentally sending your group chat key smash messages.
Disassembling Your Keyboard
The first order of business is to get your keycap puller and get to pulling! Some of the bigger keycaps attached to stabilizers are a little trickier to pull out, so be patient with those keys. Carefully pull out all your keycaps and place them in a separate bowl. Now that you pulled off all the keycaps on your keyboard, you're ready to clean!
Cleaning Your Keycaps
The first step to cleaning your keycaps is to let them soak in a bowl filled with warm water and some mild soap. After they've soaked for a few minutes, take each keycap and give it a light brush with your soft bristle brush. I like to use an old toothbrush for this step. This process can be a little tedious, but it can be cathartic if the vibes are right. After brushing and washing each of your keys, place them on a microfiber cloth to dry while you clean the rest of your keyboard.
Cleaning the Keyboard Plate
It’s good general practice to start by brushing off any excess grime that might have built up by gently brushing along the inside of the plate with a dry, soft bristle brush. If you have a hand vacuum, now is a good time to vacuum the accumulated grime you’ve loosened up with that brush.
Once your actual keyboard is nice and dust-free, sanitize the area. Grab a second microfiber cloth, pour a bit of 70% isopropyl alcohol onto the cloth, and then give your keyboard a nice wipe-down to clear out the germs and left-over grime.
Reassembling Your Mechanical Keyboard
While your keyboard is free of keycaps, it’s a good time to reassess your keyboard with any additional fine-tuning or modifications. Tune your stabilizers, perhaps swapping switches if your mechanical keyboard is hot-swappable – whatever you like to really dial in the feel.
Now that you've made your adjustments, cleaned the keyboard plate, and allowed your keycaps to dry, it's finally time to reassemble your keyboard. Carefully place your keycaps on their respective keys.
Common FAQ For Cleaning Your Mechanical Keyboard
How Often Should You Clean Your Mechanical Keyboard?
You should clean your mechanical keyboard several times throughout the year depending on your level of daily cleanliness. If you tend to eat at your desk or you're at your PC at all times, you might find yourself having to clean it more often than others.
How Do I Clean My Mechanical Keyboard?
You can clean your mechanical keyboard simply by wiping it down with a microfiber cloth. If it's especially dirty, you can do a quick deep clean! Take apart your keyboard to clean the plate beneath your keycaps as that often collects dust, hair, and food particles. For the keycaps, you can soak them in a bowl of warm water and mild soap before wiping them down.
How to Remove Keys From My Keyboard?
You can remove your keys from your keyboard using a keycap puller. This allows you to safely remove your keycaps without damaging the keycap or the switch stems.
Featured Posts

Best Anime and VTuber PC Cases
Discover the best anime and VTuber PC cases, including officially licensed anime‑themed PC cases and custom VTuber PC cases to match your favorite characters.
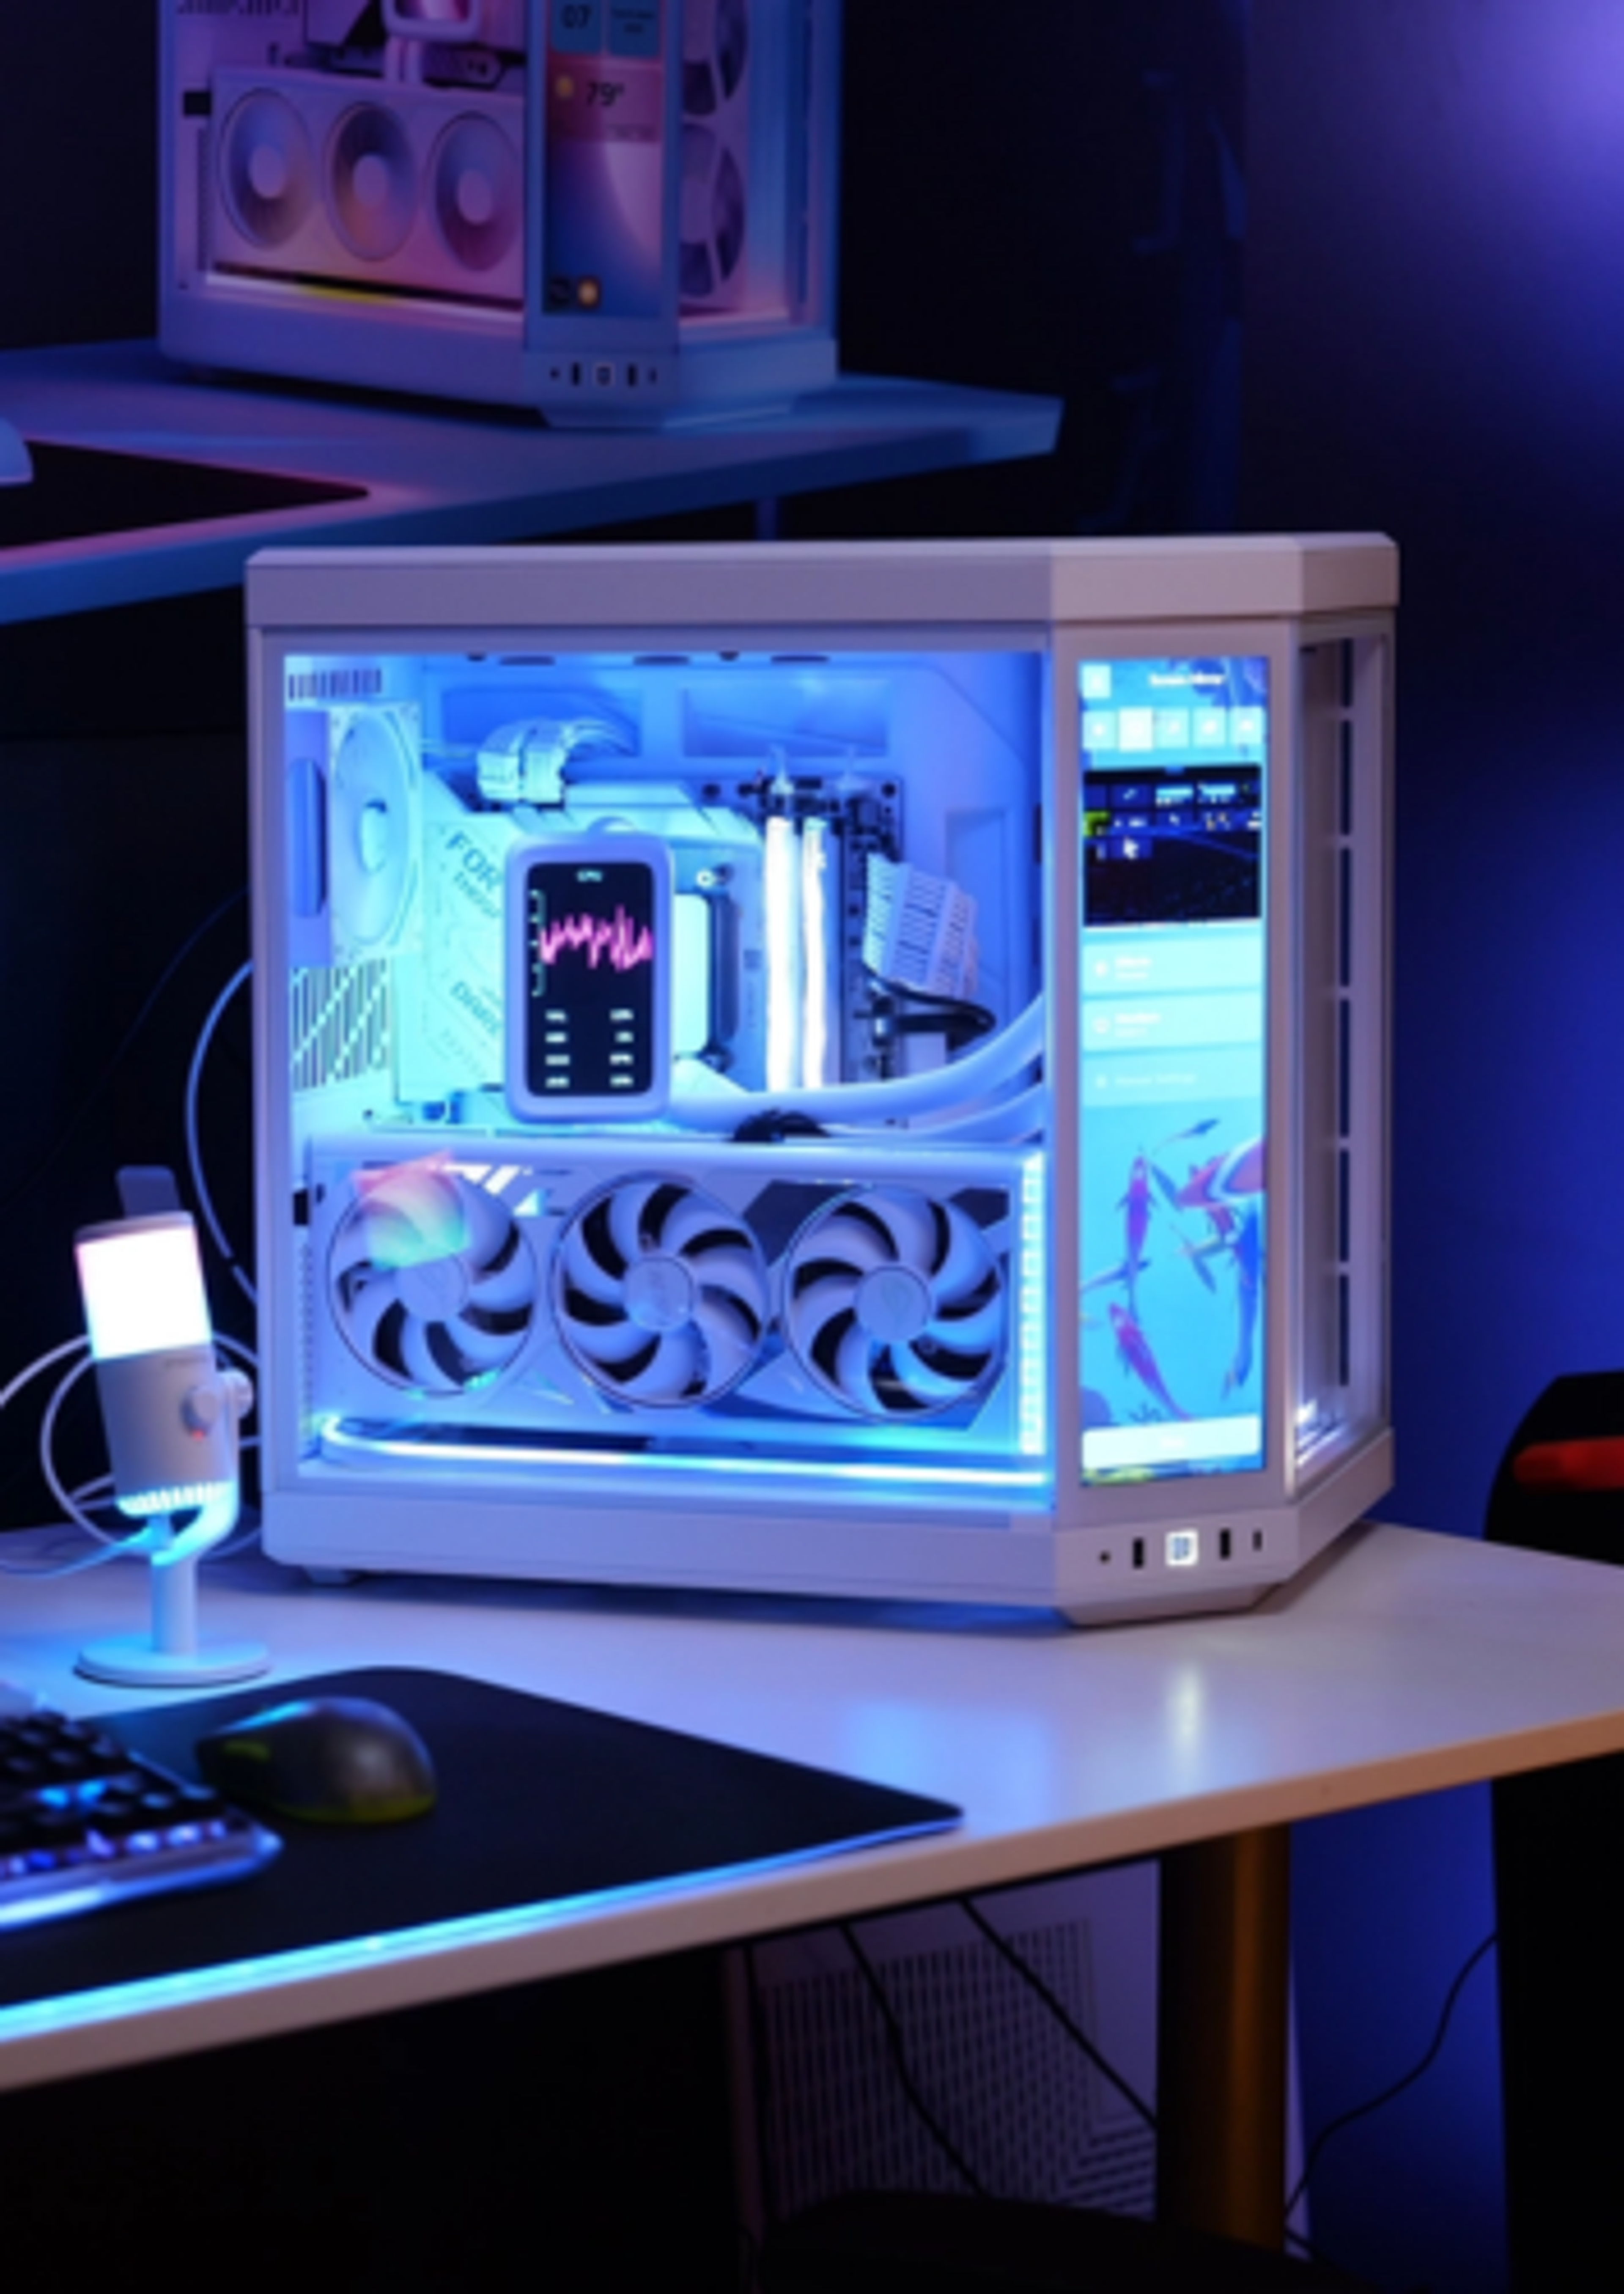
Why the HYTE Y70 Is Worth It for Modern PC Builds
See why the HYTE Y70 stands out with panoramic glass, vertical GPU support, and strong cooling potential. Discover why it fits modern PC builds.

X50 Astral Orange Is Almost Here: Pick an Orange
The X50 Astral Orange is almost here, and we are turning up the heat in the best way we know how. It is time to celebrate the orange side of gaming.

Black Friday Gaming Gear & PC Deals 2025
HYTE Black Friday sales are here, and we’re excited to share the amazing deals we’ll be offering this year! Our Black Friday sales event is your chance to save big on some of our most popular products. From November 20th through December 2nd, enjoy incredible discounts on PC cases and gaming accessories that bring both performance and style to your setup. If you’re looking to upgrade, now’s the perfect time to do it with HYTE.