

How to Plan a Custom Liquid Cooling Loop
Ready to give your PC a complete overhaul? You may have just read our last blog where we detailed each aspect of liquid cooling, so it wouldn’t be a surprise that you’re eager for more!
This side of PC building can get addicting so proceed with caution!
Getting Started
The biggest factors when planning a loop are deciding which case to build in and what hardware you are going to use, more specifically the heat output that each individual component puts off.
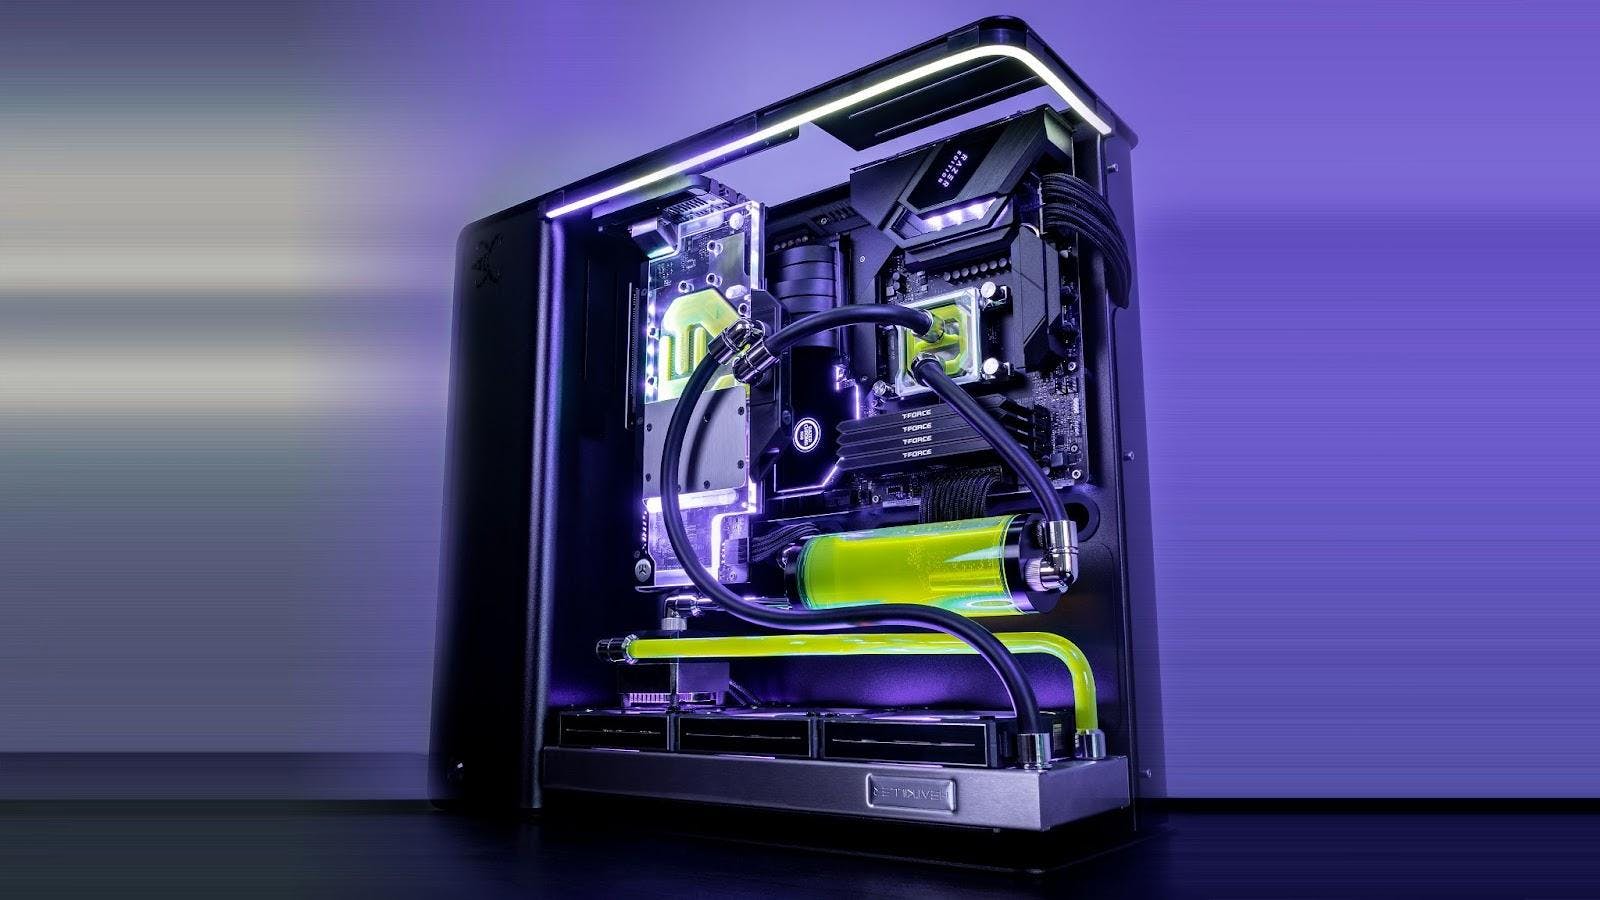
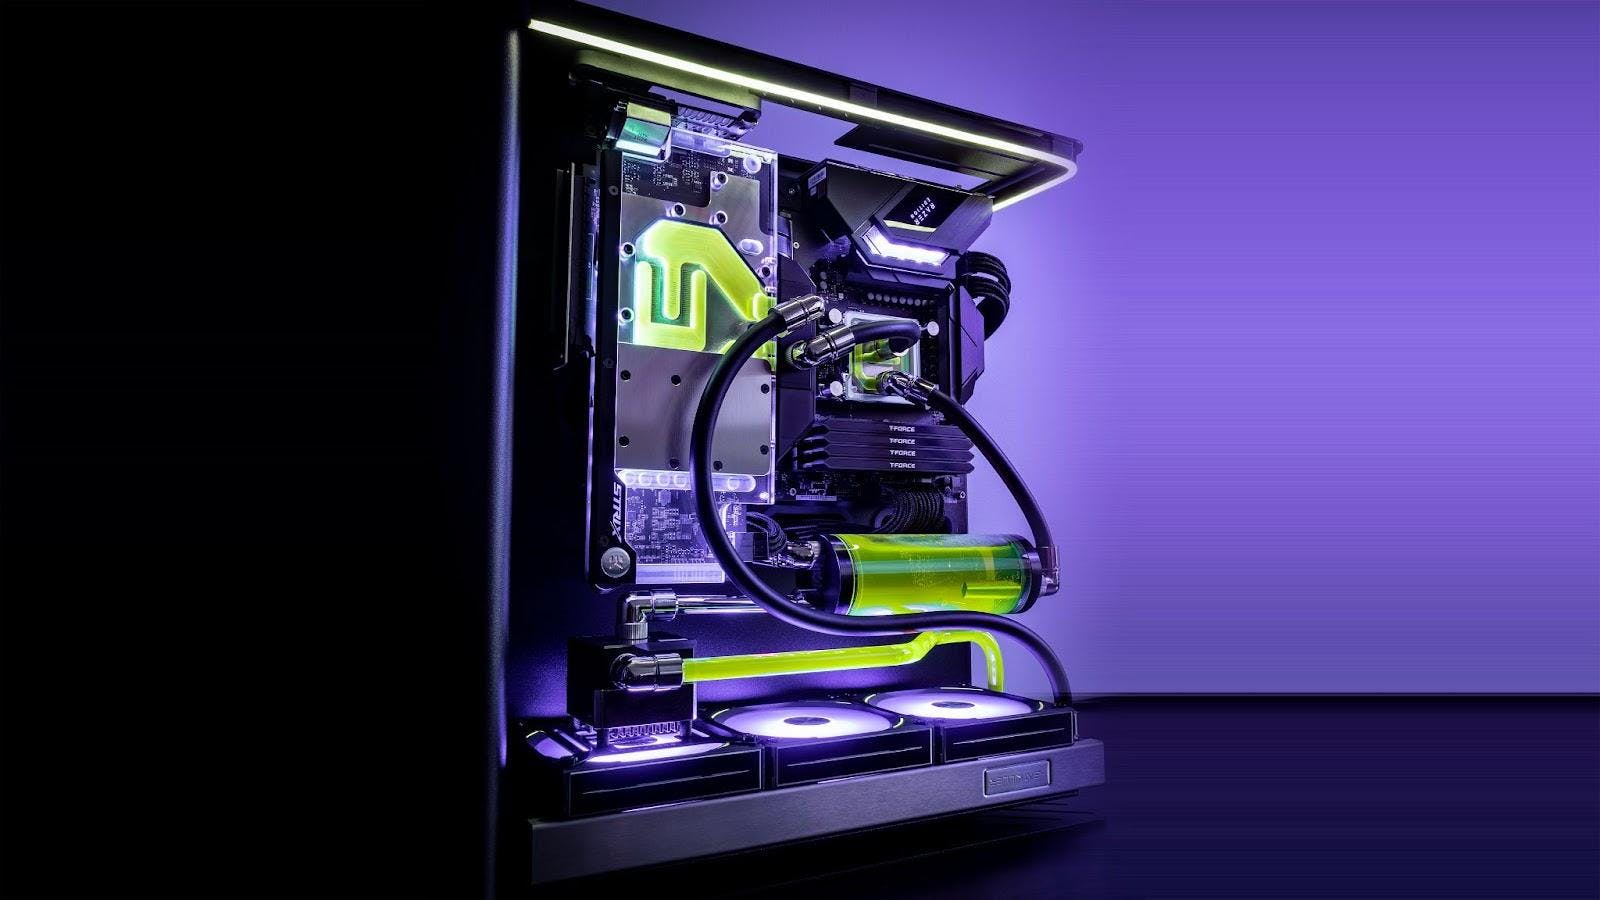
As a good visual example of a custom loop, we are going to walk through the planning steps of our build Project Vantage, which is a PC that has a ton of aesthetically driven decisions within its overall layout. Aesthetically driven or performance-driven, the planning process for the custom loop remains the same.
For this build, the case we chose was the Yuel Beast Lithium (which, unfortunately, is currently discontinued.) By utilizing a single 360mm radiator as the sole contributor to the system’s cooling, we can take advantage of this simplistic layout.
Utilizing a singular radiator for a build isn’t uncommon, as many PC’s out there utilize only one. However, we still need to source a pump, reservoir, and block(s). A lot of these components can range in size and appearance, with those same factors also playing a role in how it fits and flows with everything else in your PC.
Fitment ends up being the most restrictive aspect of liquid cooling component selection. The bigger your case, the easier this will be. For that reason, we typically recommend a bigger case for beginner builders.
With Project Vantage, the length of the GPU was a deciding factor for how thick the single 360mm radiator would be, especially because of the mounting placement for the pump being sandwiched between the radiator and GPU. We needed a pump with a shorter height to make sure fitment was still possible.
There are many different options to choose from for a low-profile pump. The pump we used for this build is an amalgam of different brands - Barrow, EKWB, Alphacool, and Watercool. Each brand has something unique to offer so we often like to mix and match components in our builds.
With proper spacing between the GPU and pump, the reservoir still needed to be positioned in a way that properly fed the pump with continuous fluid without the chance of air getting sucked in instead. Constant air feeding into a pump is one of the main reasons why pumps fail prematurely, so make sure your pump(s) are plumbed properly!
The reservoir we chose for this build was from the brand Bitspower. They have created a really solid tube reservoir in many different sizes, along with multiple port end caps for maximum compatibility.
Over the years while this specific corner of the hobby has grown, the idea of making sure your liquid cooling loop is plumbed in a specific order has actually been disproven. This is due to the fact that over a short period of time, your fluid’s temperature will equalize throughout the entire loop, regardless of component order. This can help out beginners a ton since this then allows more freedom for fitment and component selection.
With Project Vantage, we did choose to plumb the pump to the radiator, and then the radiator to the actual hardware components - though it wasn’t fully necessary.
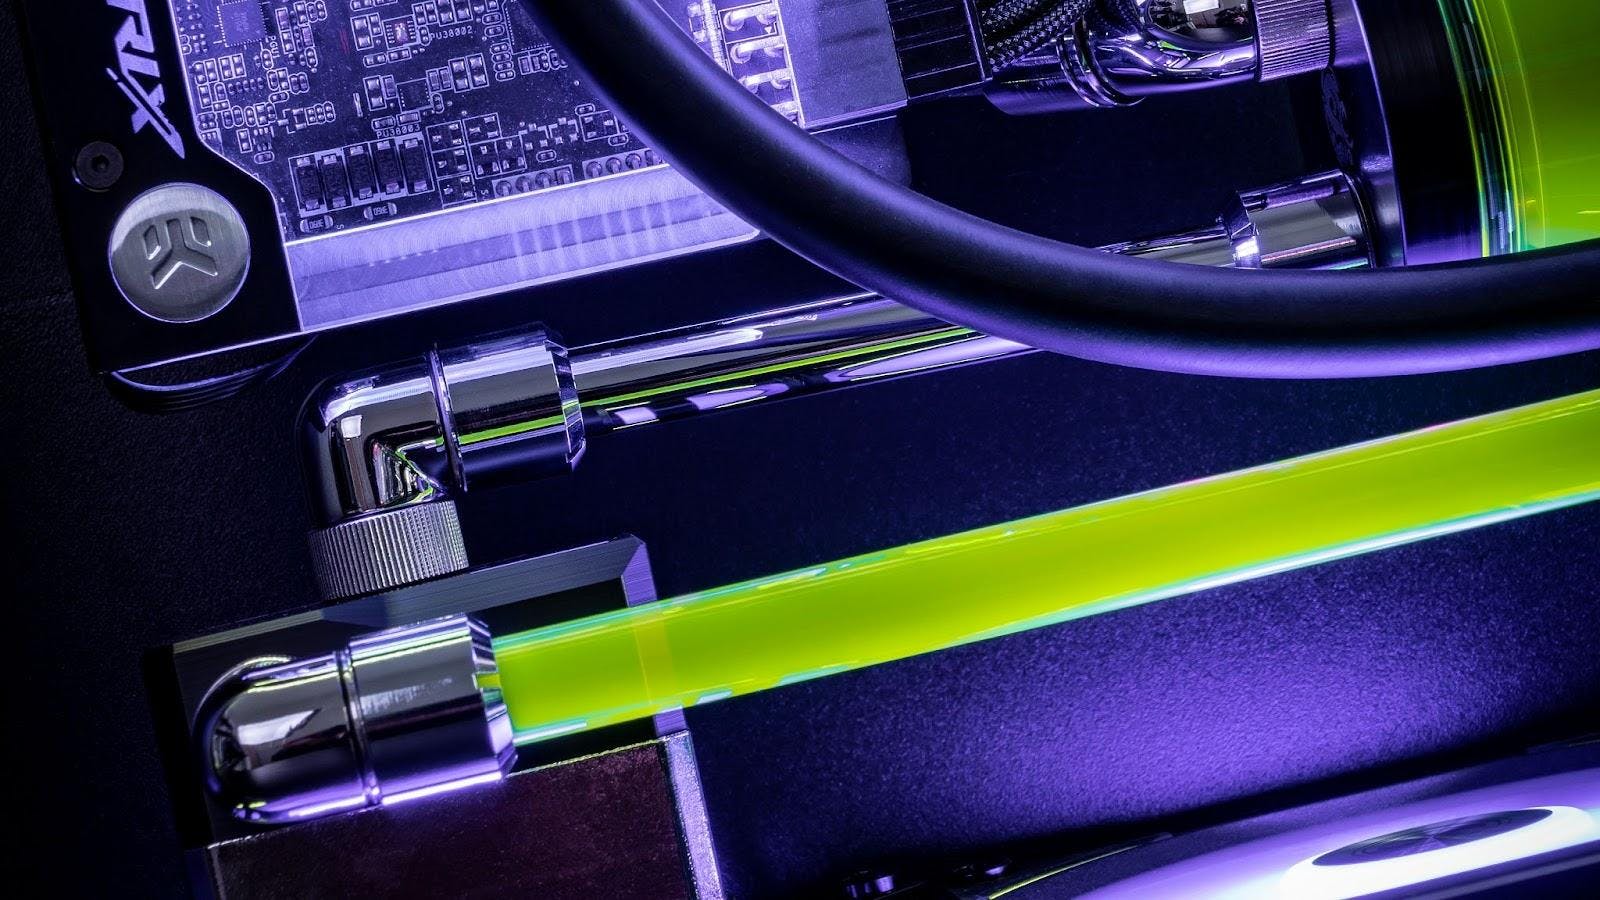
When you’ve got your build put together - waterblocks and all - don’t feel like your tubing should be perfect right off the bat. There are many times when we’ve changed the tubing around after the initial loop assembly.
Most times nowadays, tubing isn’t something that we worry about planning out ahead of time. This is due to the fact that no matter how much planning you can do when it comes time to actually put everything together, there are variables that may or may not affect the outcome of the loop’s performance or appearance.
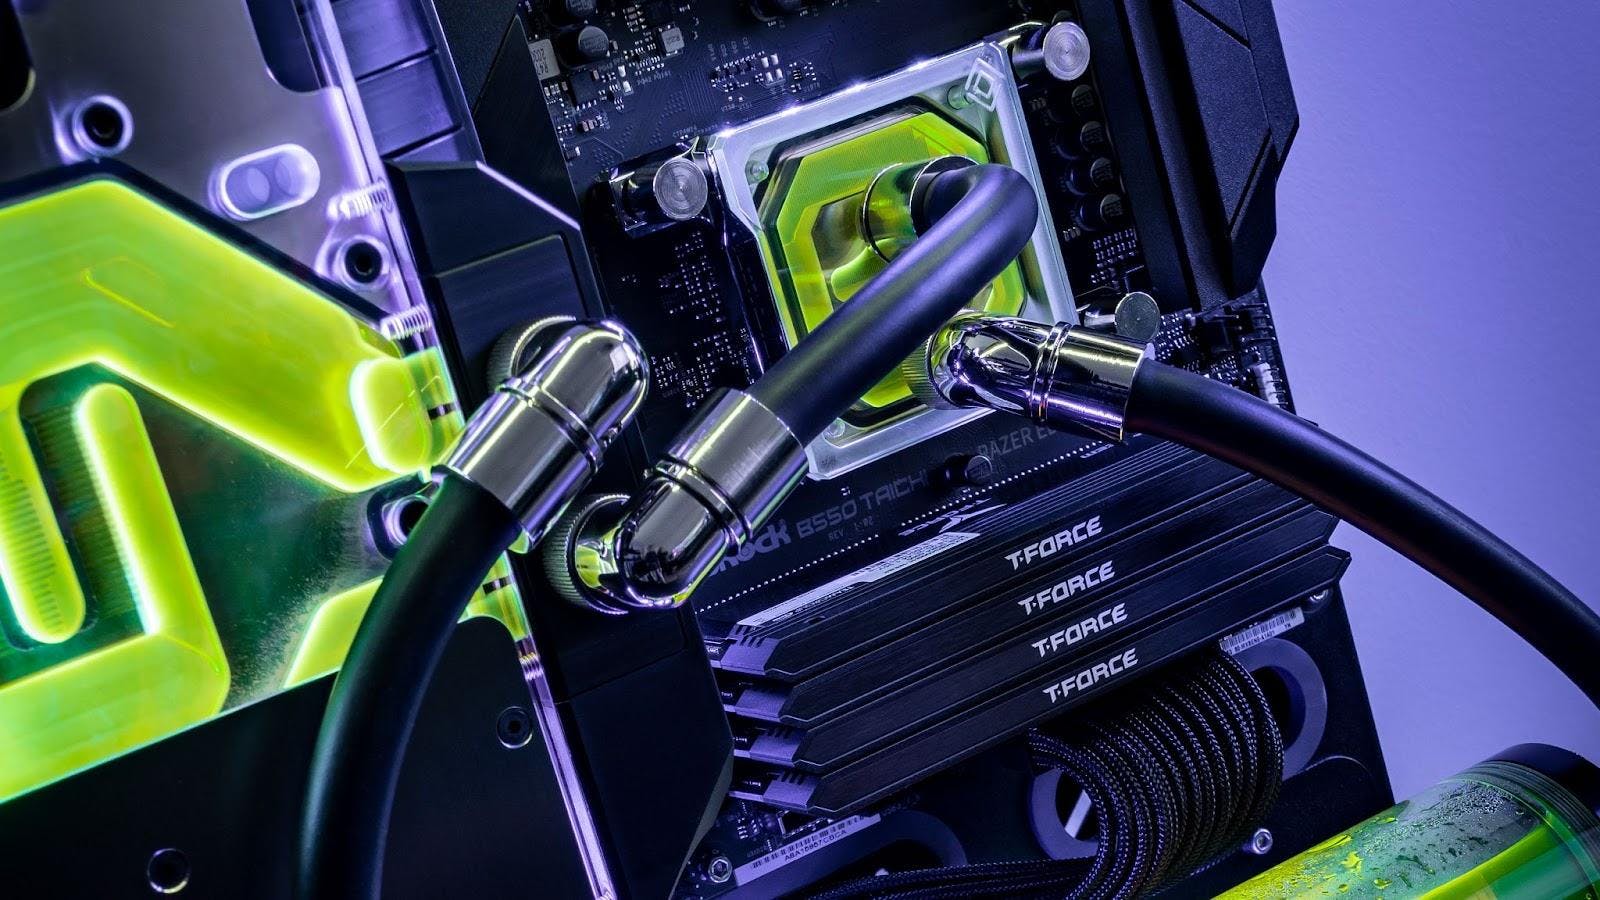
Speaking of waterblocks, make sure you are getting a compatible block for whichever motherboard, processor, or graphics card you plan to block! The GPU block market is somewhat lucrative due to waterblocks being designed completely around a specific chipset. There are a few different websites from these waterblock manufacturers that help you find the correct waterblock for the specific GPU you have.
As for the CPU blocks, just make sure that you’re either choosing the right version for the CPU that you have. Most companies have separate blocks based on if you have an AMD CPU, or an Intel CPU. Air coolers almost always come with mounting brackets for both, but it’s rare for block manufacturers to do that.
Your main goal when accumulating everything you need for your own custom liquid cooling loop is to make sure that those components you chose will all work together correctly. After you become more familiar with those components, it’ll then become easier to create a second iteration of your build that has a bit more optimizations in order.
Wrapping Up
In all of the years that I have been building PC’s, the liquid cooling aspect of the hobby has noticeably been the more individual and customized side of things. There are nearly infinite possibilities you can go with - whether that’s utilizing the exact same parts as I did with this build, but within a different case and laid out differently, or with the same case but completely different parts, or with different everything!
The choice is yours, and the planning stage is definitely one of the most important things to take care of before diving in! We wish you the best of luck in your liquid cooling endeavors, and we’ll catch you next time!
Featured Posts
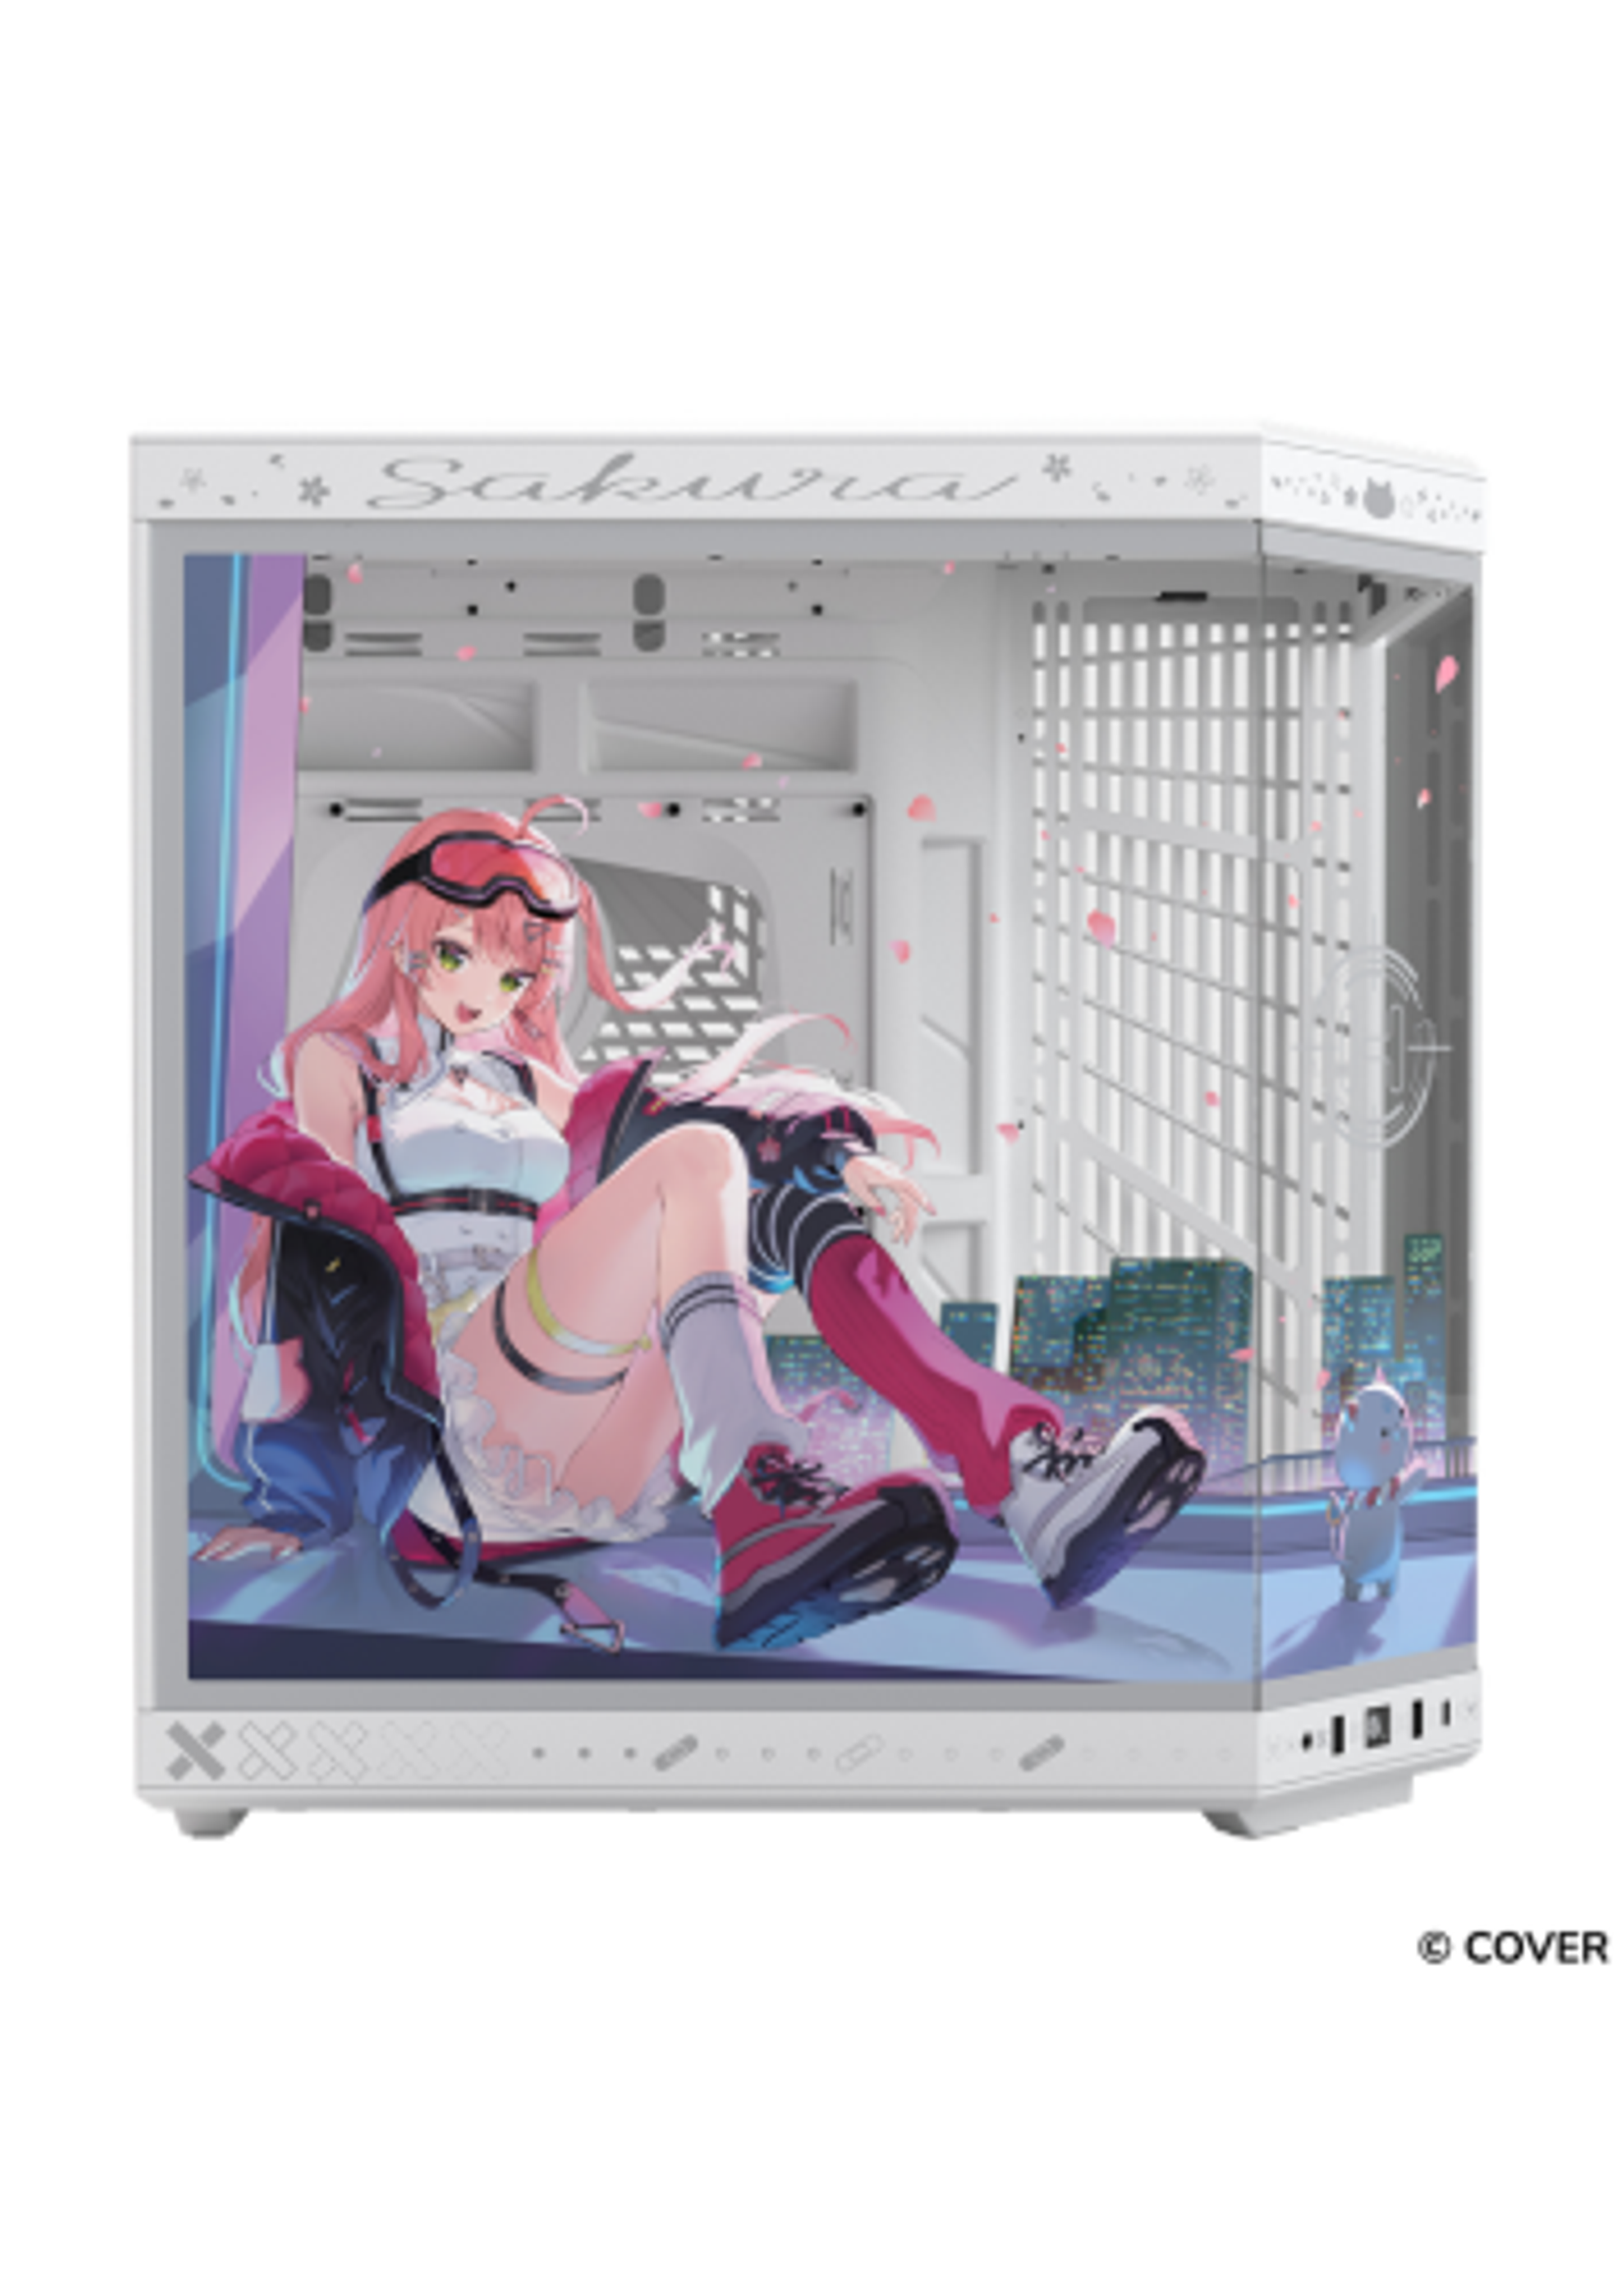
Best Anime and VTuber PC Cases
Discover the best anime and VTuber PC cases, including officially licensed anime‑themed PC cases and custom VTuber PC cases to match your favorite characters.
Why the HYTE Y70 Is Worth It for Modern PC Builds
See why the HYTE Y70 stands out with panoramic glass, vertical GPU support, and strong cooling potential. Discover why it fits modern PC builds.

X50 Astral Orange Is Almost Here: Pick an Orange
The X50 Astral Orange is almost here, and we are turning up the heat in the best way we know how. It is time to celebrate the orange side of gaming.

Black Friday Gaming Gear & PC Deals 2025
HYTE Black Friday sales are here, and we’re excited to share the amazing deals we’ll be offering this year! Our Black Friday sales event is your chance to save big on some of our most popular products. From November 20th through December 2nd, enjoy incredible discounts on PC cases and gaming accessories that bring both performance and style to your setup. If you’re looking to upgrade, now’s the perfect time to do it with HYTE.