
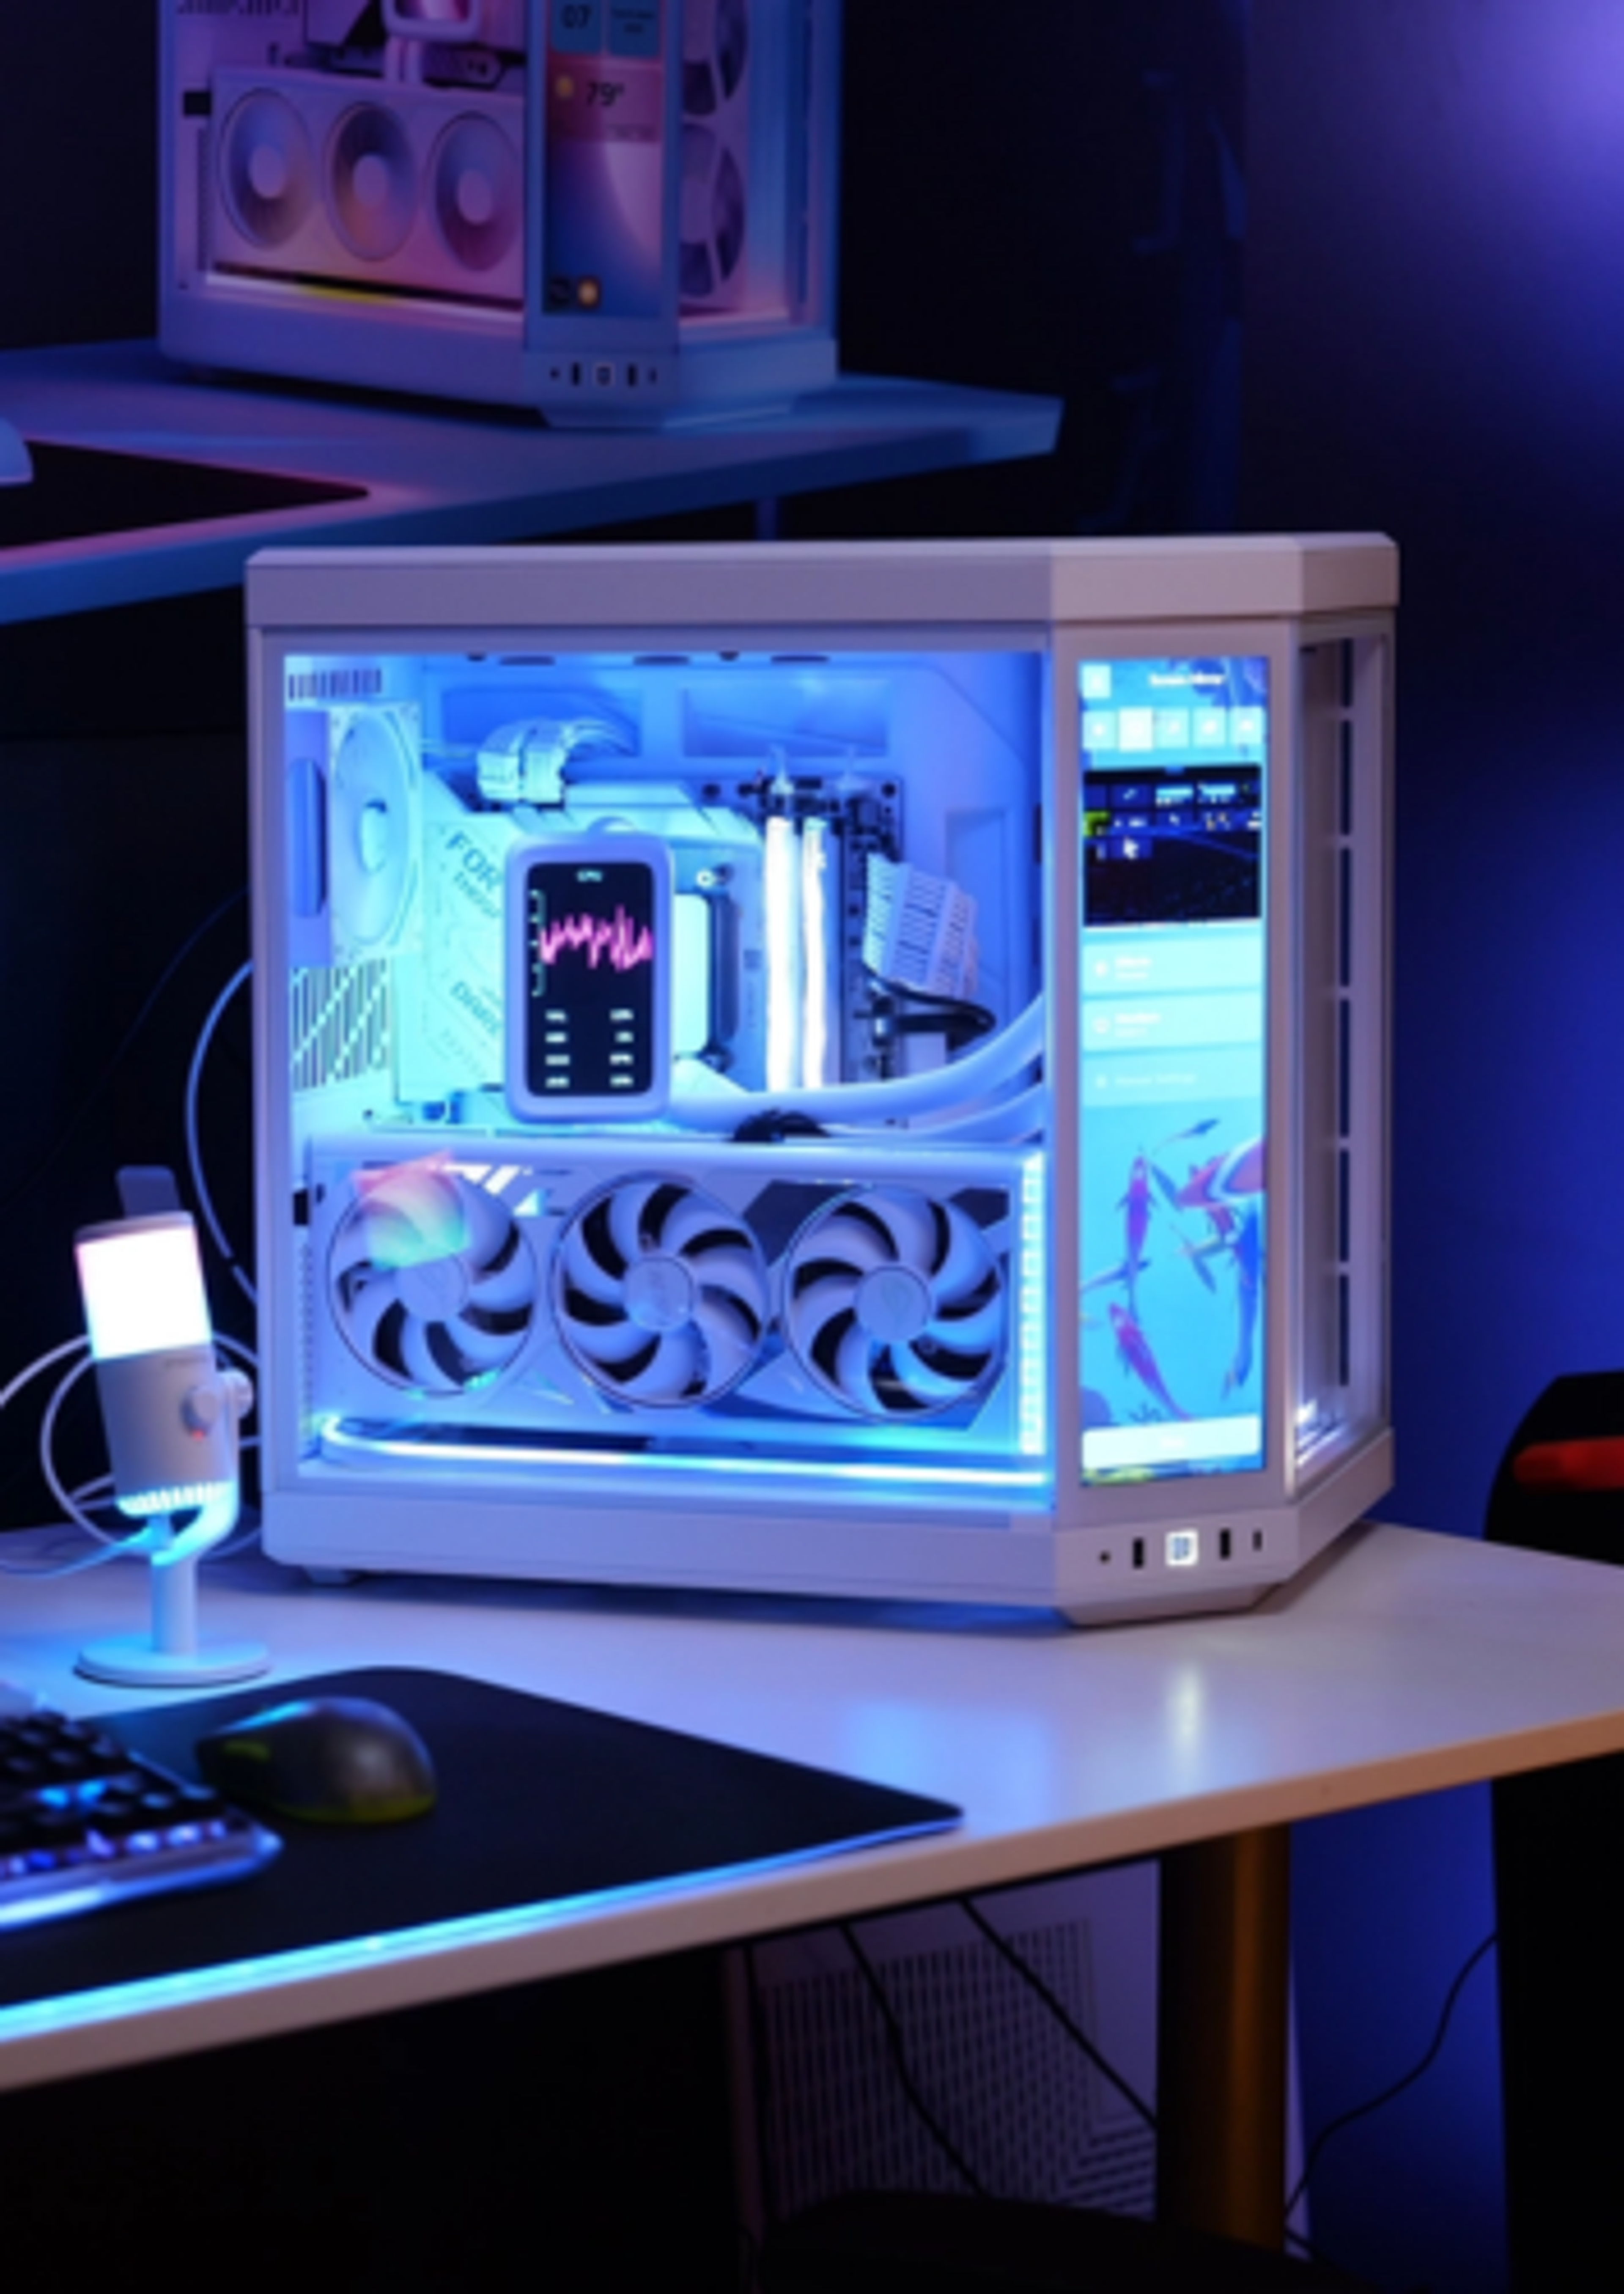
Liquid Cooling Basics: Plumbing
Hey everyone! HYTE welcomed us again to get back down to the basics, but this time we’re going to talk about liquid cooling basics. More specifically: plumbing.
In this article, we’ll be talking about the essentials when it comes to the actual plumbing aspect of a system - what should be included, what things to look out for, and what steps you will need to take to avoid issues (like a leak) once the system is all set up.
What You’ll Need
As liquid cooling has become more popular, there have become a lot more options for us on the market to choose from. The aesthetics and the price points vary from brand to brand, but the biggest thing we prioritize is functionality.
Luckily, we’ve had opportunities to work with many different brands so we’ve seen all sorts of solutions for securing tubing. Additionally, one of the most frequent topics we’re asked about is fittings.
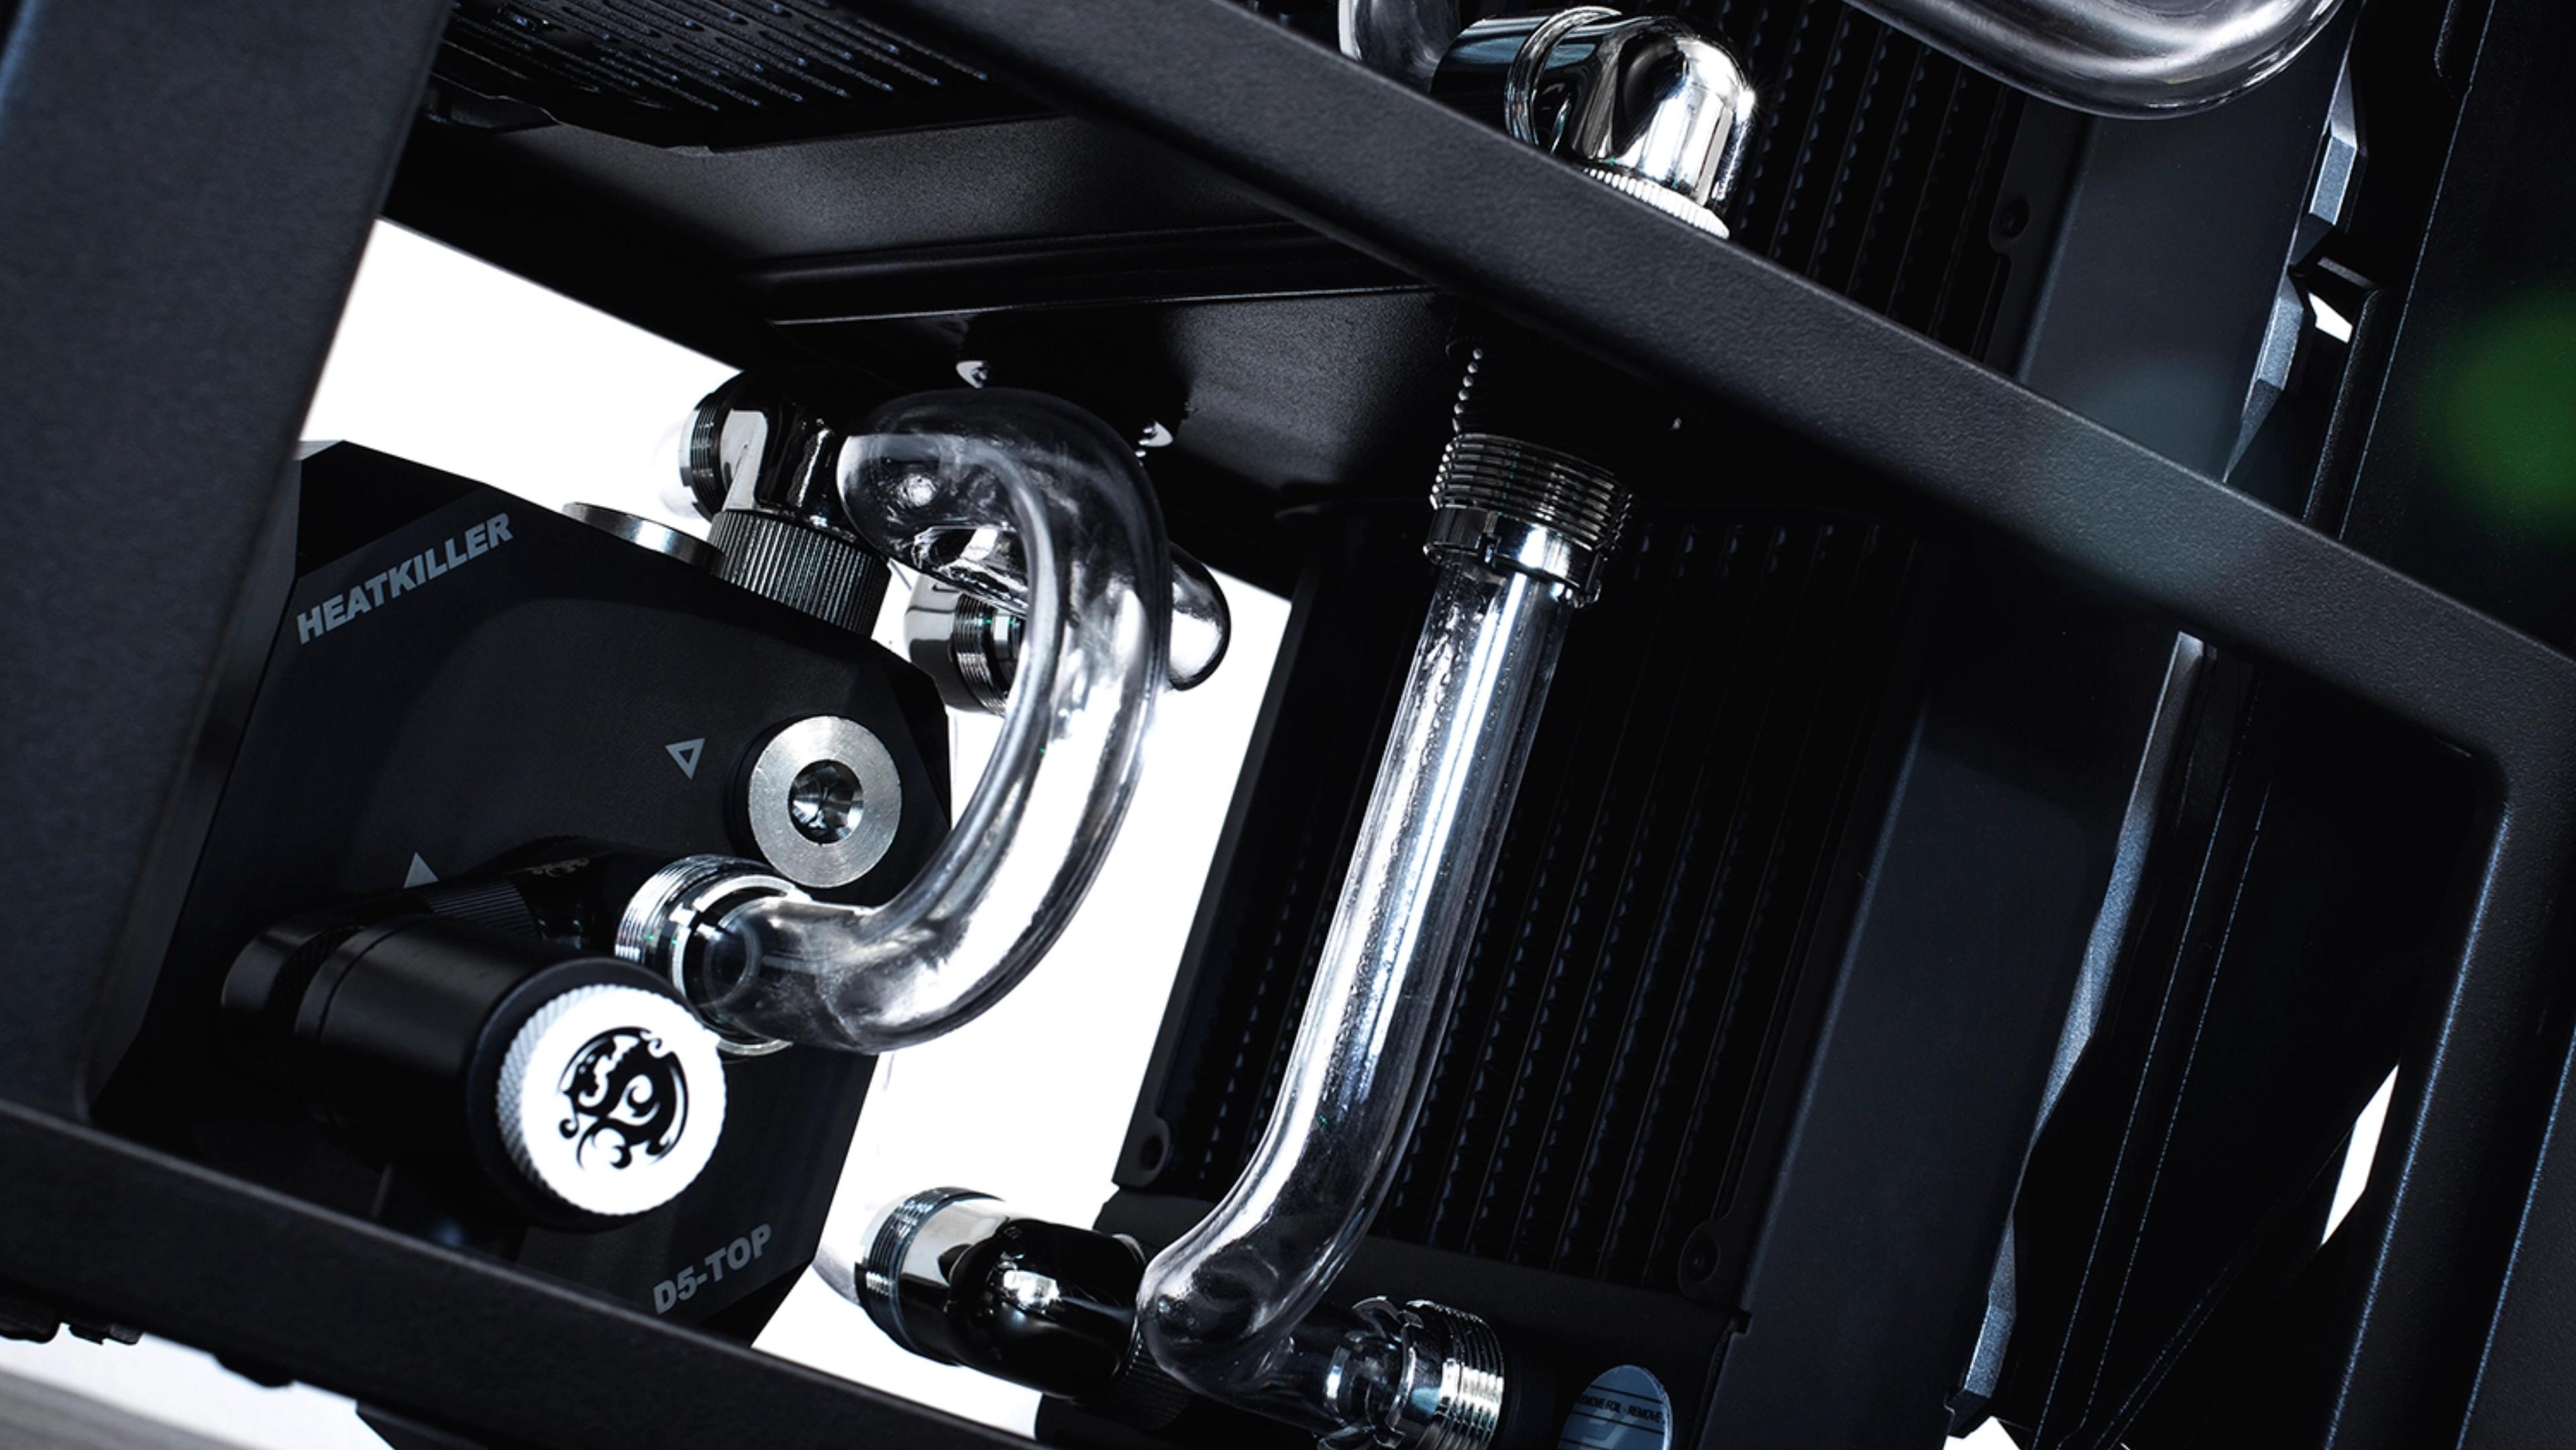
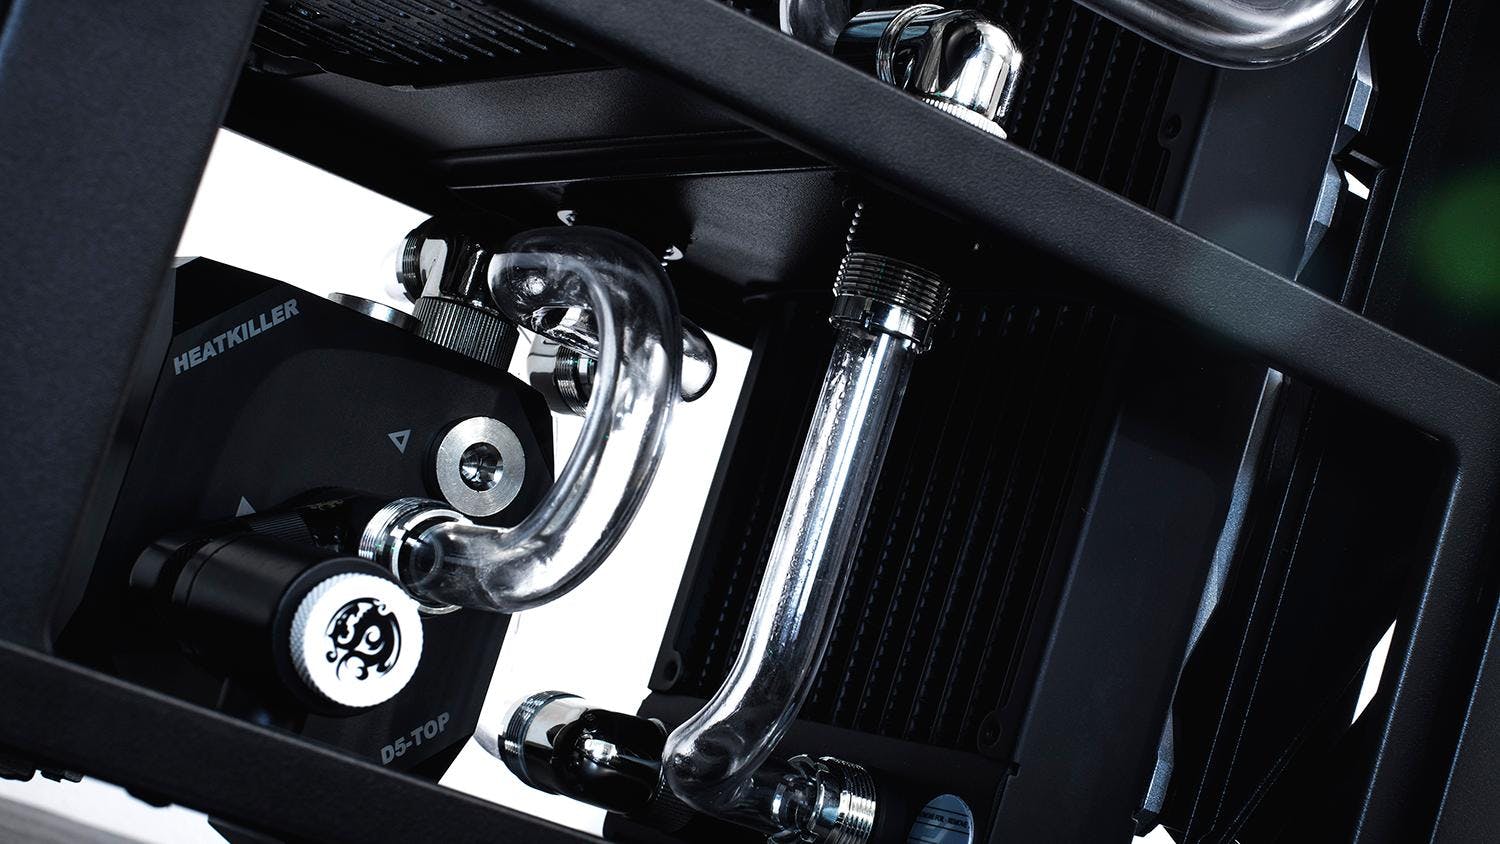
One of our favorite fittings is the compression style fitting that utilizes 3 separate o-rings. Obviously, more o-rings help, but we’ve enjoyed fittings more that have a secondary material, like a Teflon-made chamfer ring that focuses more on securing the rigidity of the tubing, versus sealing the line itself.
Another fitting option is the hybrid fitting. They feature secondary materials for tubing securement, which have really stood the test of time, as we have shipped fully built systems all across the country.
When it comes to tubing, the choice of the fitting isn’t as necessary for the sole reason that soft tubing is malleable. This allows barb fittings to work perfectly without using a securing clamp or zip tie. That being said, we’d still recommend going the compression route here too. With some soft tubing sleeves, those compression fittings look really nice at the ends!
The Science
The largest, and most overlooked, factor that contributes to a water cooled PC build is gravity.
Gravity will first come into play when planning a draining system for your build. Draining systems are important in water cooling because it provides an easy way to perform maintenance on your build, therefore improving the longevity of the PC and, separately, the hardware.
You will want to utilize gravity to your benefit and plan to have the drain valve at the lowest point of your loop, with a vent plug at the highest point of your loop. This will allow the combination of the exchange of fluid and air within the loop and some gravity, therefore allowing your system to be a dream for maintenance.
Getting it Running
In addition to the draining system, another aspect of your loop that utilizes gravity is the plumbing of your pump. The types of pumps that are used with water cooling loops should not be run dry, so if your setup calls for a separate pump and reservoir, you’ll have to make sure that the reservoir can still prime the pump without assistance from you.
For example, we have used secondary pumps in line with other water cooling components in a high restriction layout. We make sure not to power that pump until the entire loop is adequately filled, in the case that the second pump isn’t primed correctly.
Running a pump dry can very quickly degrade the life and condition of your pump so planning your plumbing layout like this can reduce the chances of accidentally ruining your pump.
When it’s time to fill your system, power up the pump by itself! We have all seen the videos of people powering up the entire system in the initial fill-up, right? Well, don’t be that person! We understand that air pump gauge combos have become more prevalent, but it’s simply unsafe to perform an initial fill while the entire system is powered up.
Please make sure to check back in the future for articles detailing other water cooling basics! Until next time!
Featured Posts
Best Anime and VTuber PC Cases
Discover the best anime and VTuber PC cases, including officially licensed anime‑themed PC cases and custom VTuber PC cases to match your favorite characters.
Why the HYTE Y70 Is Worth It for Modern PC Builds
See why the HYTE Y70 stands out with panoramic glass, vertical GPU support, and strong cooling potential. Discover why it fits modern PC builds.

X50 Astral Orange Is Almost Here: Pick an Orange
The X50 Astral Orange is almost here, and we are turning up the heat in the best way we know how. It is time to celebrate the orange side of gaming.

Black Friday Gaming Gear & PC Deals 2025
HYTE Black Friday sales are here, and we’re excited to share the amazing deals we’ll be offering this year! Our Black Friday sales event is your chance to save big on some of our most popular products. From November 20th through December 2nd, enjoy incredible discounts on PC cases and gaming accessories that bring both performance and style to your setup. If you’re looking to upgrade, now’s the perfect time to do it with HYTE.