
How to Build a Small Form Factor PC in 2022
There are many reasons to consider building a small form factor PC. Chief among which is how much space a smaller PC can save on your desk, and how much easier it would be to move than a traditional desktop.
Small PCs can be scary, though, especially if you’re a first-time builder, or if it’ll be your first time breaking away from larger rigs. Luckily, though, there are some easy guidelines you can follow throughout the building process that will make your life much easier, and that will hopefully result in a smooth build with little to no troubleshooting at the end.
What is a small form factor desktop PC?
“Form factor,” when speaking about computers, simply refers to the machine’s size, and how much space it takes up on your desk. So when you hear someone refer to a “small form factor,” they’re simply talking about a small computer. Pretty easy, right?
Generally speaking, any system that uses a motherboard smaller than a standard ATX board can fall into this category. It’s a pretty loose term, and it’s up to the builder’s interpretation to decide what “small form factor” means exactly when they’re preparing their build. In other words, how much space do you have to work with? How big can your PC be when all’s said and done? These are questions you need to answer yourself before you can begin assembling your parts.
Typically, the smaller you go, the harder it’s going to be to build, due to needing to find components specifically made to fit in that small of a rig. This can mean, sometimes, that it’d be easier to go with a pre-built option than build one yourself. Once you’re committed to building, everything is going to revolve around the size you’ve chosen to run with.
Start with size: Picking your chassis
Unlike with normal PCs, starting with your case is not a bad idea when building a small form factor machine. Why? Because everything comes down to size. Since you need to know how much space you’re working with right at the start, your build is naturally limited to fitting into that size. And the best way to make sure you stick to that size is pick a case that fits, and build from there.
You can go incredibly small, but again, that might make finding the right parts for your build more difficult. Or, you can pick something a little bit larger, but still smaller than a traditional rig, like the REVOLT 3, which sits at 16.1 inches tall and seven inches wide. A typical mid-sized case runs around 18 inches tall and eight inches wide, so you’ll want to just make sure you run below that to actually save space.
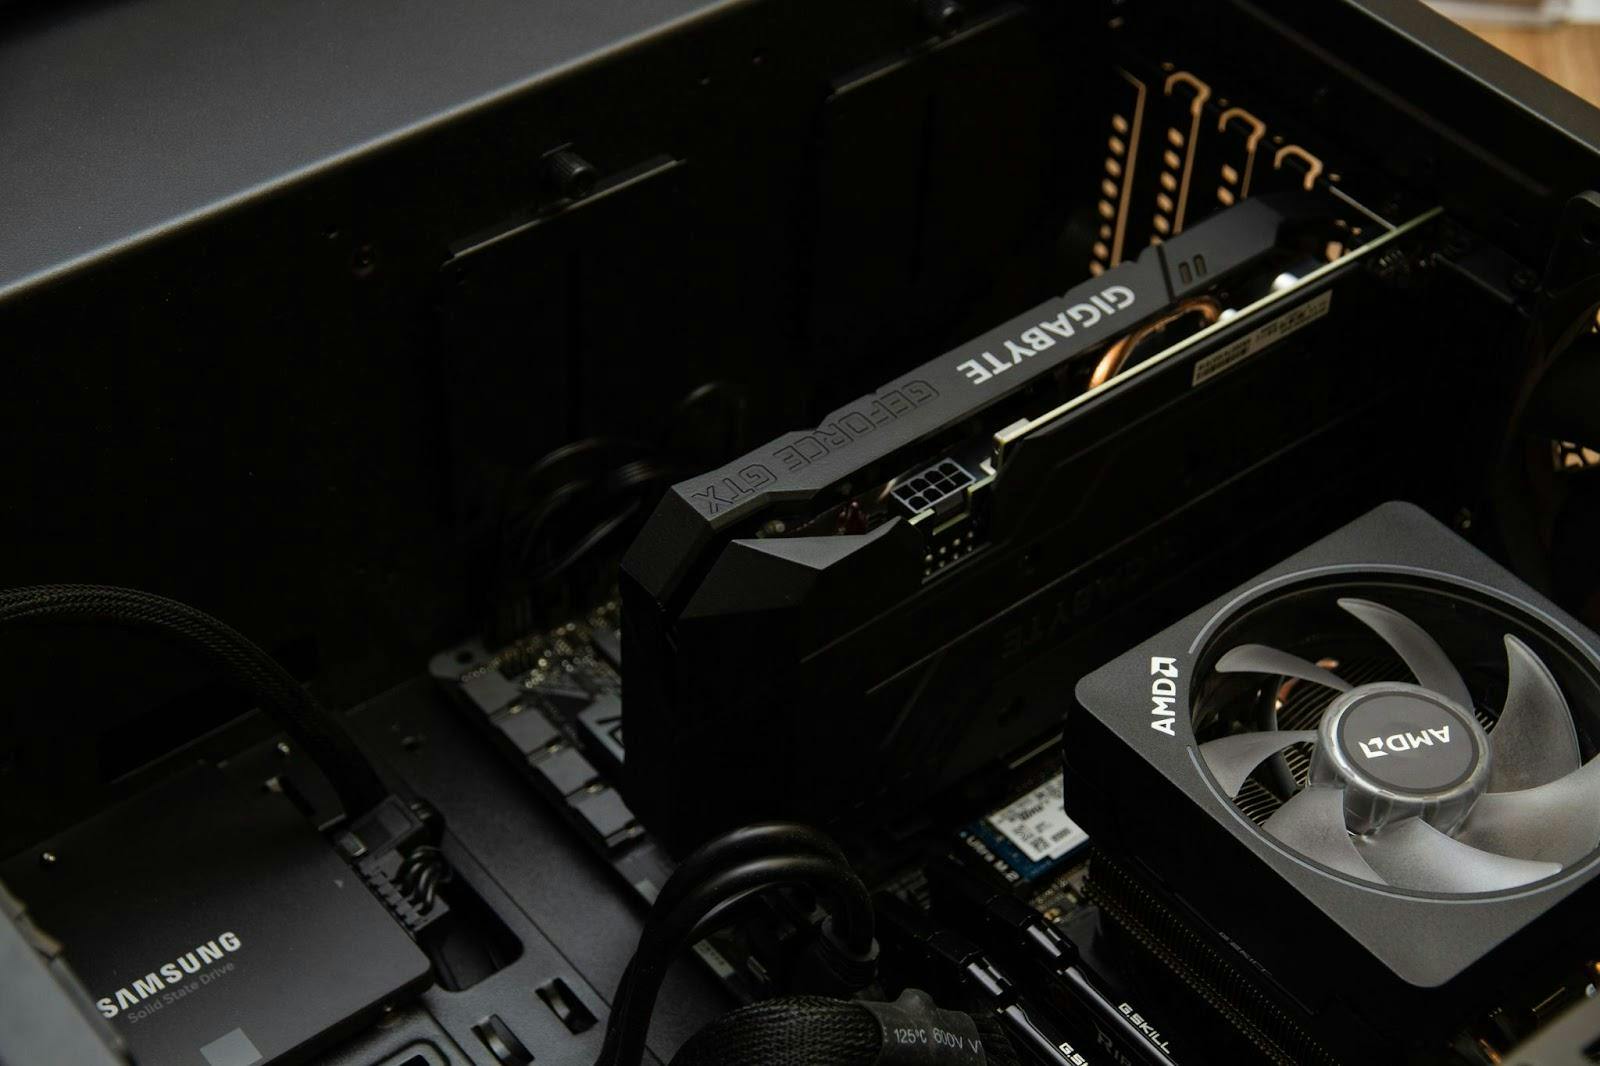
Once you’ve picked your case, you’re immediately limited to picking only components that fit your new chassis. We recommend choosing your case on a compatibility check tool, like PCPartPicker, and then working down from there. Start with your motherboard and CPU, and then move onto your other large components, like the PSU and, if you’re not going with integrated graphics, a GPU. For help choosing a smaller motherboard for your rig, you can check out our guide.
Here’s a list of all the parts you’ll need to check off:
- Case
- Motherboard
- Processor (CPU)
- Memory (RAM)
- Power supply (PSU)
- Storage (SSD or HDD)
- Graphics card (GPU)
- Cooling system (Liquid or air cooling)
Once you’ve chosen compatible parts, it’s time to build.
Building: Work slowly, and use the right tools
Once all your parts have arrived, you’re all set to start putting it all together. If you’ve built a normal-sized PC before, there isn’t a whole lot to do differently with a smaller machine, but there are some things to keep in mind. Above all else, remember to be careful. You’re working with smaller, finer components, and that means that it’s going to be naturally easier to break something.
We've got a handy video guide on building in the REVOLT 3, in case you need some help to get started:
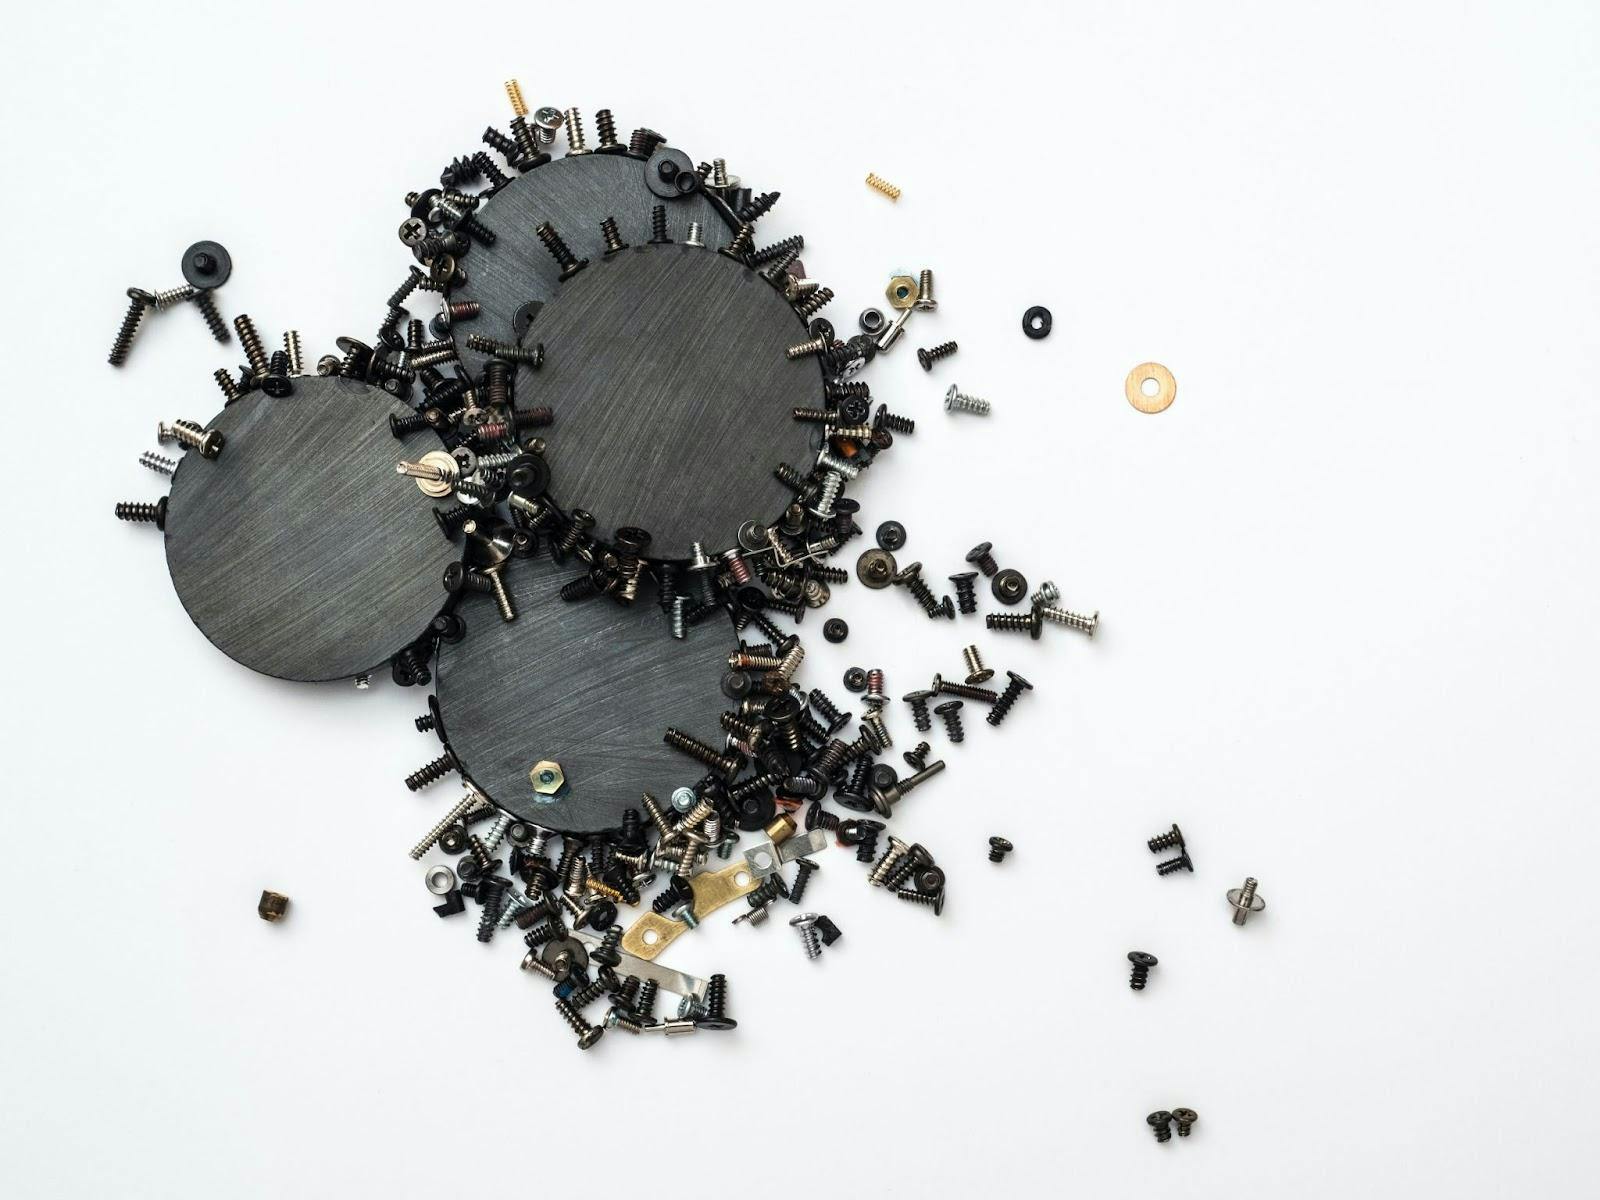
But honestly, it’s not as tough as it sounds. Just remember to work slowly, and not to rush anything. Make sure you have the right tools for the job, too, like smaller screwdrivers with finer heads, and magnetic tips for retrieving and lining up screws in the proper spots. As you can imagine, it’s going to be more difficult with a tiny rig to fit your hands or tools down where they need to go, so those magnetic tips are going to be a life saver. Just remember to take proper steps to ground yourself before working, especially before working with anything magnetic around your metal components.
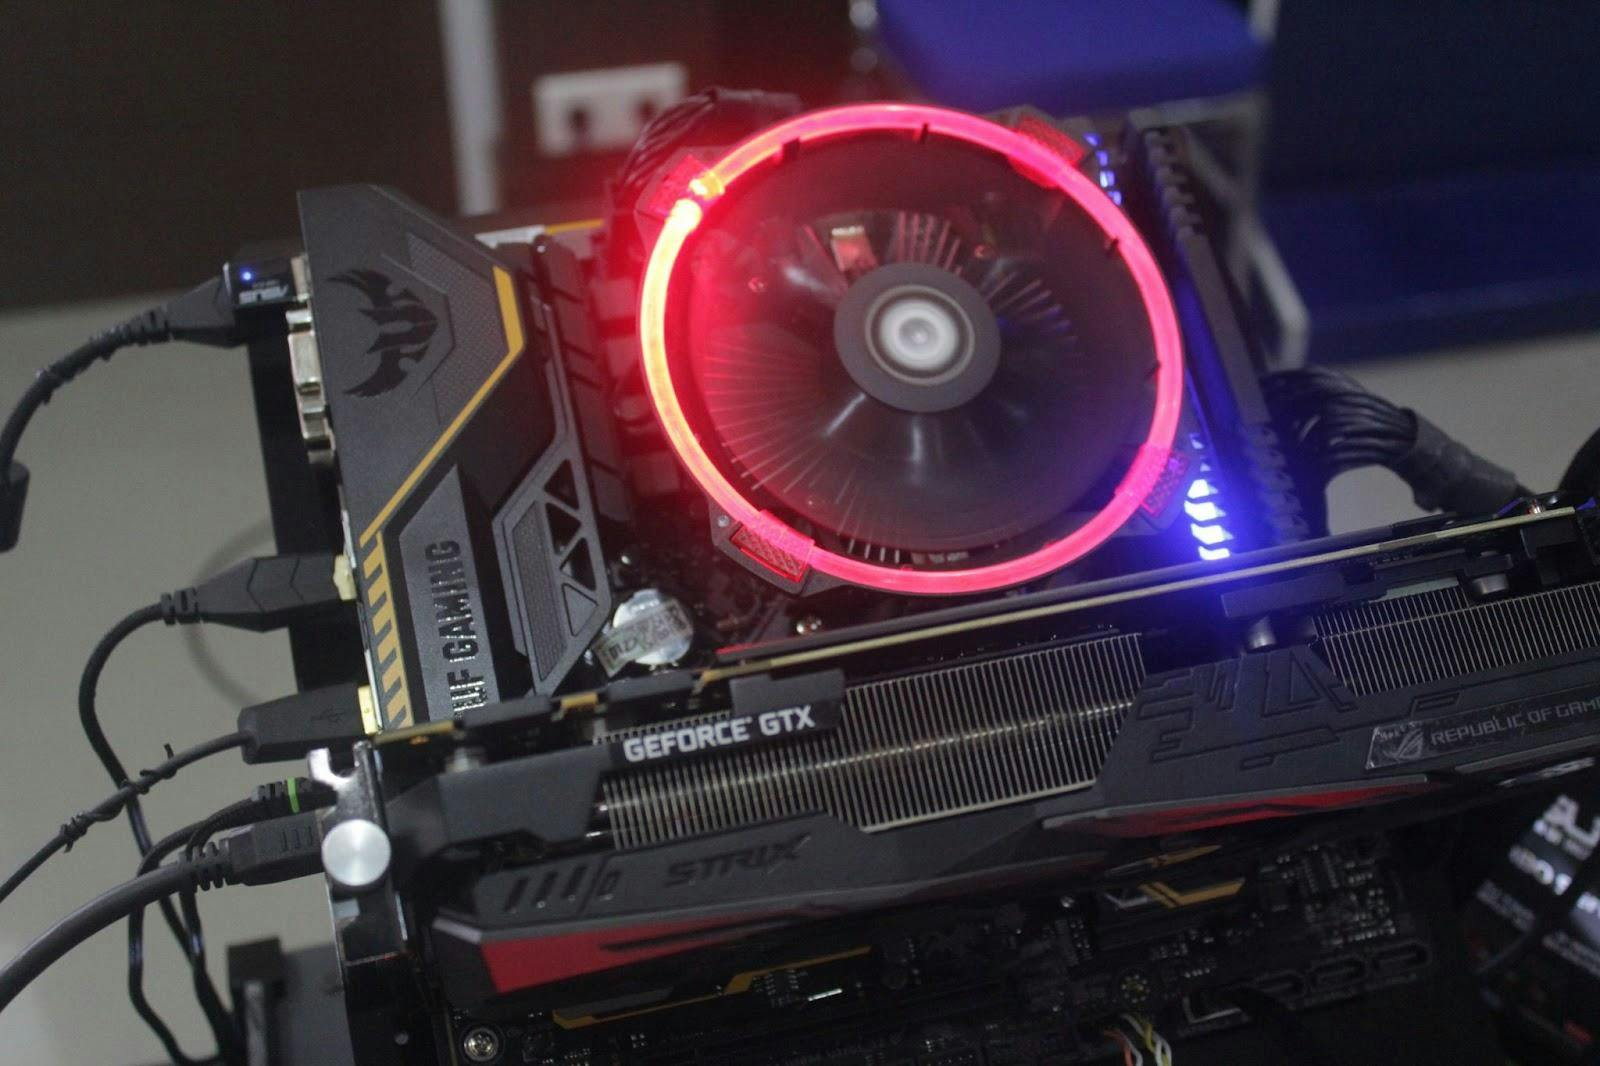
You’re going to be more limited on space than you’re used to, also. Because of this, it’s even more important with a small form factor rig to use your space efficiently. Make sure you’re fitting your components in correctly, so that you still have some airflow in your limited space.
Furthermore, cable management is going to go a long way—even moreso if you’re working with extra LEDs or other peripherals that could add more cables to the mix in your smaller space. Be sure to buy cable combs, cable ties, and anything else you can to organize the wiry spaghetti in your build. Sometimes, it helps to look at examples of good cable management to know what you’re working toward.
Modding
Finally, and briefly, we arrive at our last point. Once you’re more comfortable with the concept of a small form factor PC, it’s worth noting that modding can be one more way to properly utilize the space on your rig. There are even some cases that are built with modding in mind, like the REVOLT 3.
What can you do with modding? Well, there’s a lot. With the right case, you can replace side panels with cooling systems so that they don’t have to take up space inside, and some mods even allow you to put some components on the outside, as well. There are limitless mods to try, just be sure that when you’ve found one you like that you educate yourself as much as possible on what exactly goes into the mod, and know the risks of what could happen to your build if the modding goes wrong.
Happy building!
Featured Posts

Best Anime and VTuber PC Cases
Discover the best anime and VTuber PC cases, including officially licensed anime‑themed PC cases and custom VTuber PC cases to match your favorite characters.
Why the HYTE Y70 Is Worth It for Modern PC Builds
See why the HYTE Y70 stands out with panoramic glass, vertical GPU support, and strong cooling potential. Discover why it fits modern PC builds.

X50 Astral Orange Is Almost Here: Pick an Orange
The X50 Astral Orange is almost here, and we are turning up the heat in the best way we know how. It is time to celebrate the orange side of gaming.

Black Friday Gaming Gear & PC Deals 2025
HYTE Black Friday sales are here, and we’re excited to share the amazing deals we’ll be offering this year! Our Black Friday sales event is your chance to save big on some of our most popular products. From November 20th through December 2nd, enjoy incredible discounts on PC cases and gaming accessories that bring both performance and style to your setup. If you’re looking to upgrade, now’s the perfect time to do it with HYTE.